The post Accelerate with Snapmaker appeared first on | Blog.
]]>So, what did they make?
Real Car Parts. Model Cars. Automotive Artwork.
Let’s take a look:
Meet the Master
Sponsored Teams
Schumacher CLRT
Snapmaker gifted the team a Snapmaker Artisan Premium, a J1s, and large quantities of TPU, ABS, Nylon, PVA, and other specialized materials to give them everything they need to blaze a trail across Europe, the Middle East, and Asia!
And how’d it go? They took home the Porsche Super Cup and the Carrera Cup France! They also made an appearance at the Macau Grand Prix, where the Snapmaker Team, which gave us the opportunity to meet the team in person. You can watch the video here.
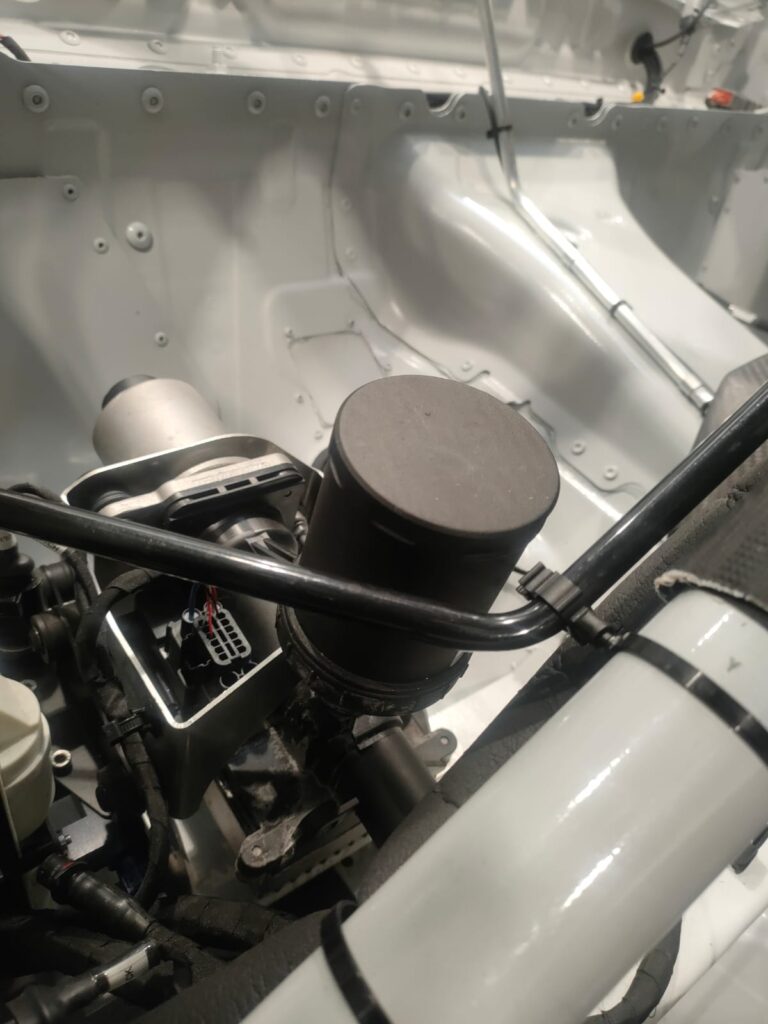
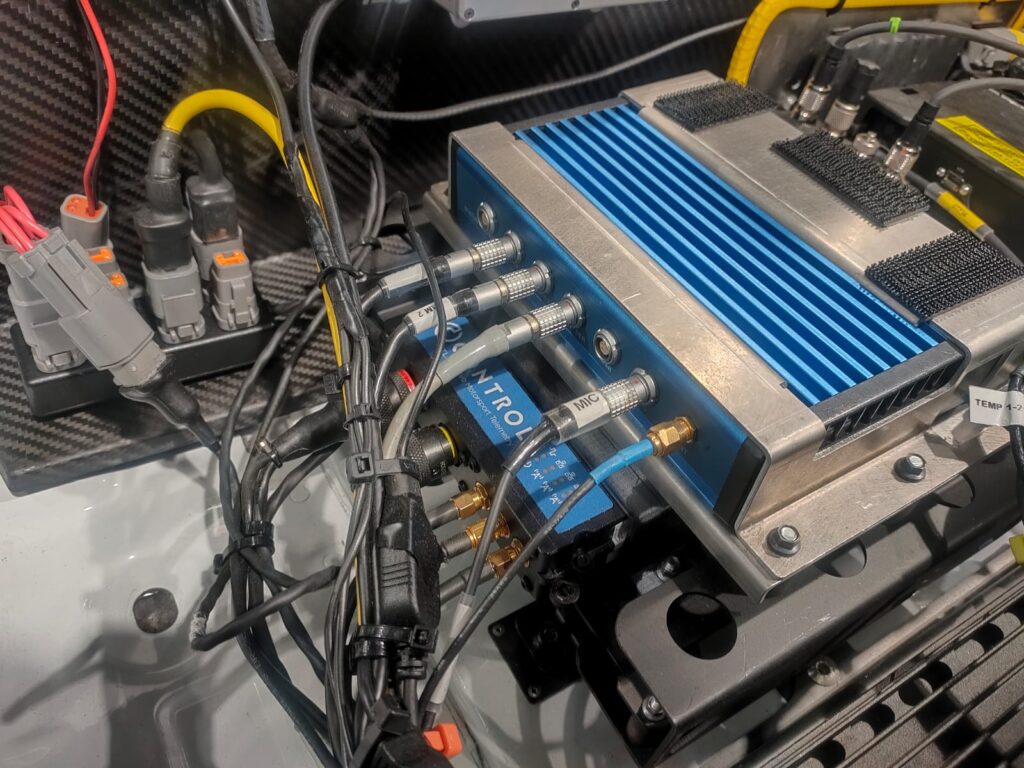
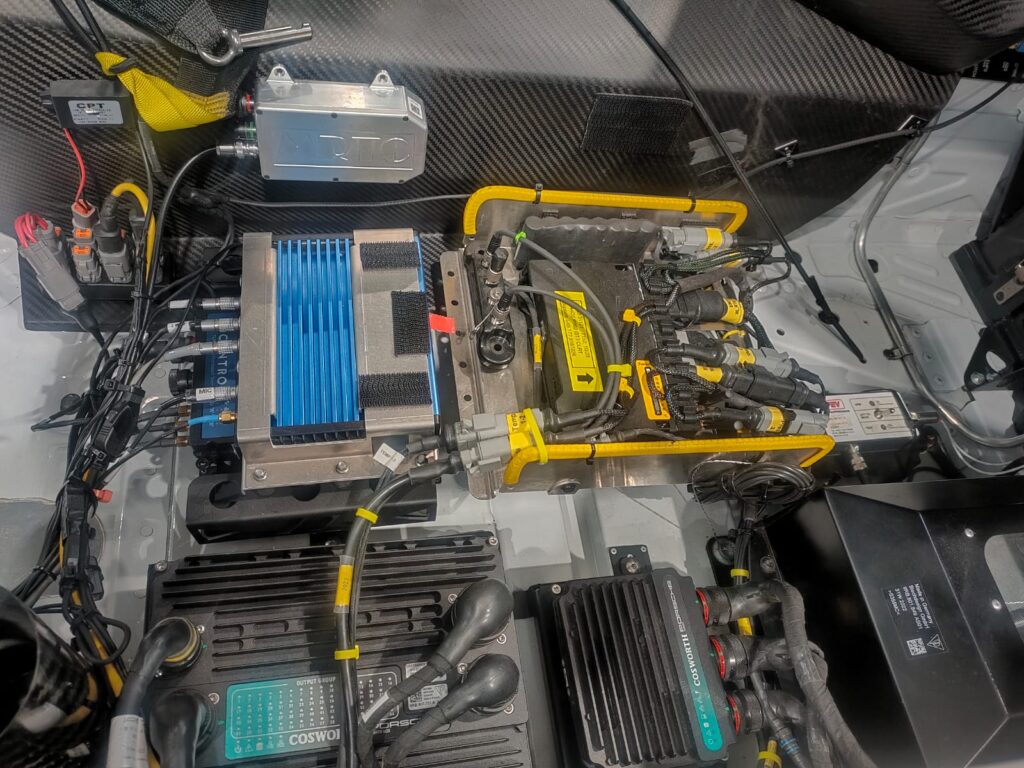
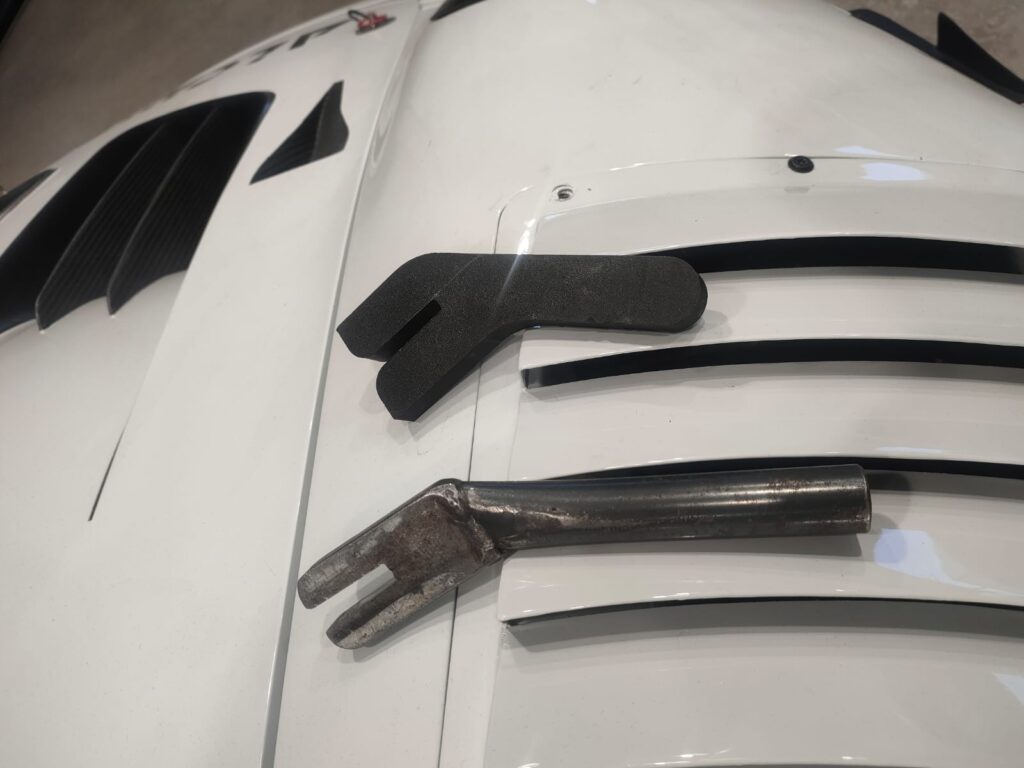
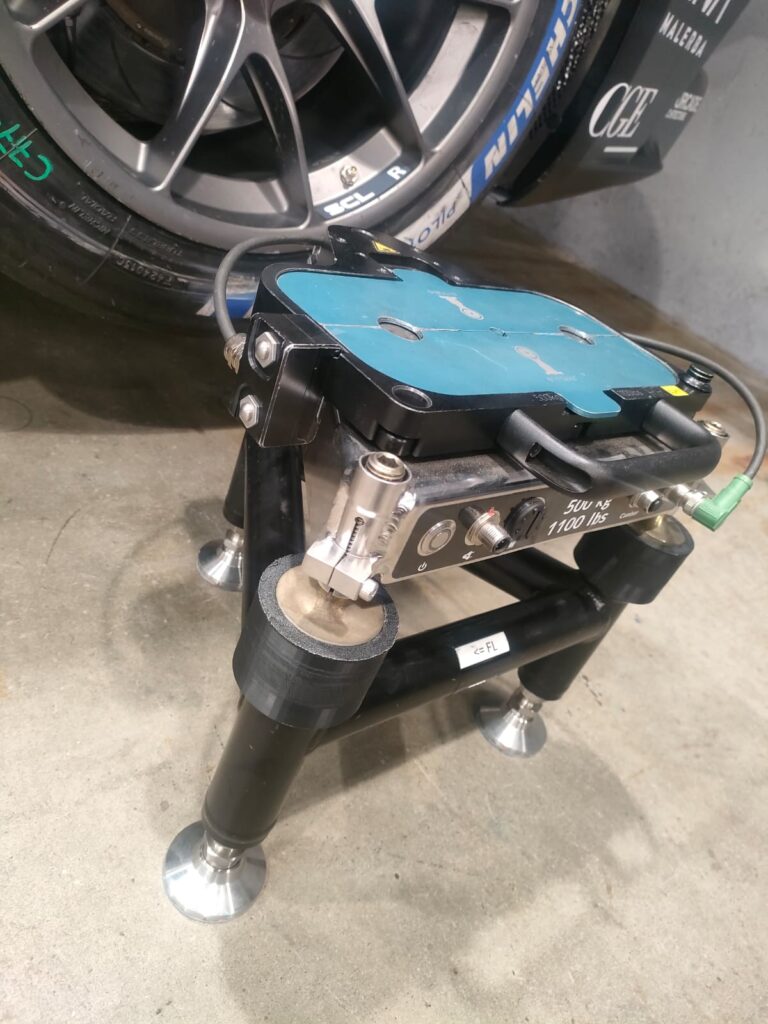
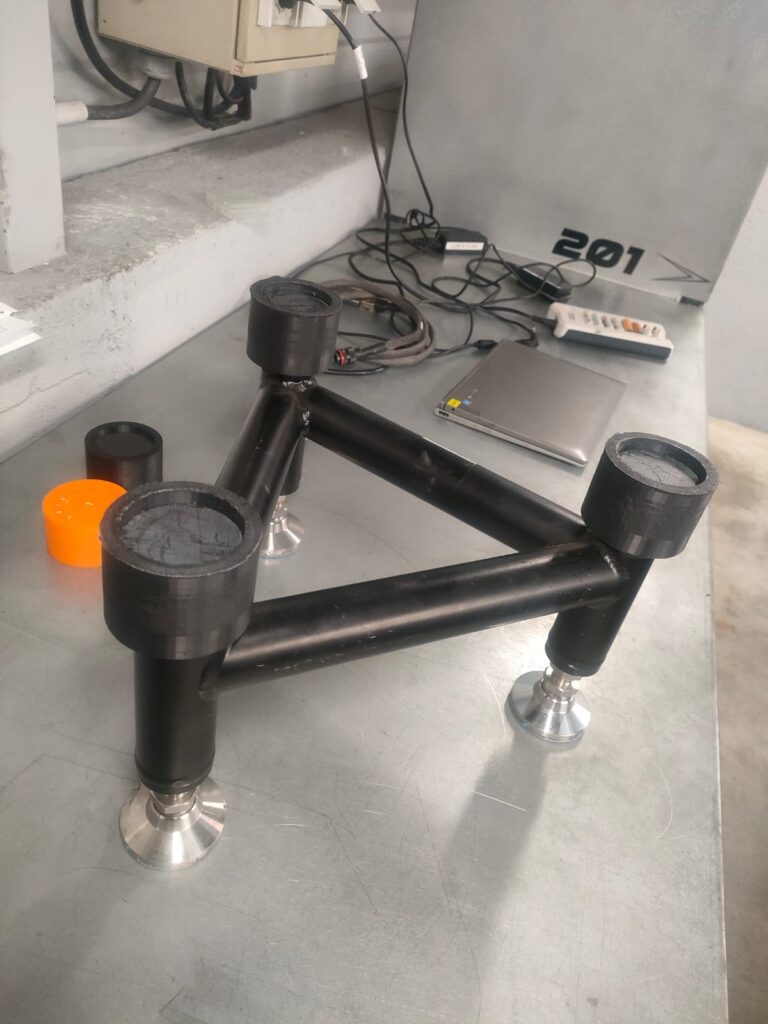
Every single day, Schumacher CLRT uses 3D printed parts on their cars.
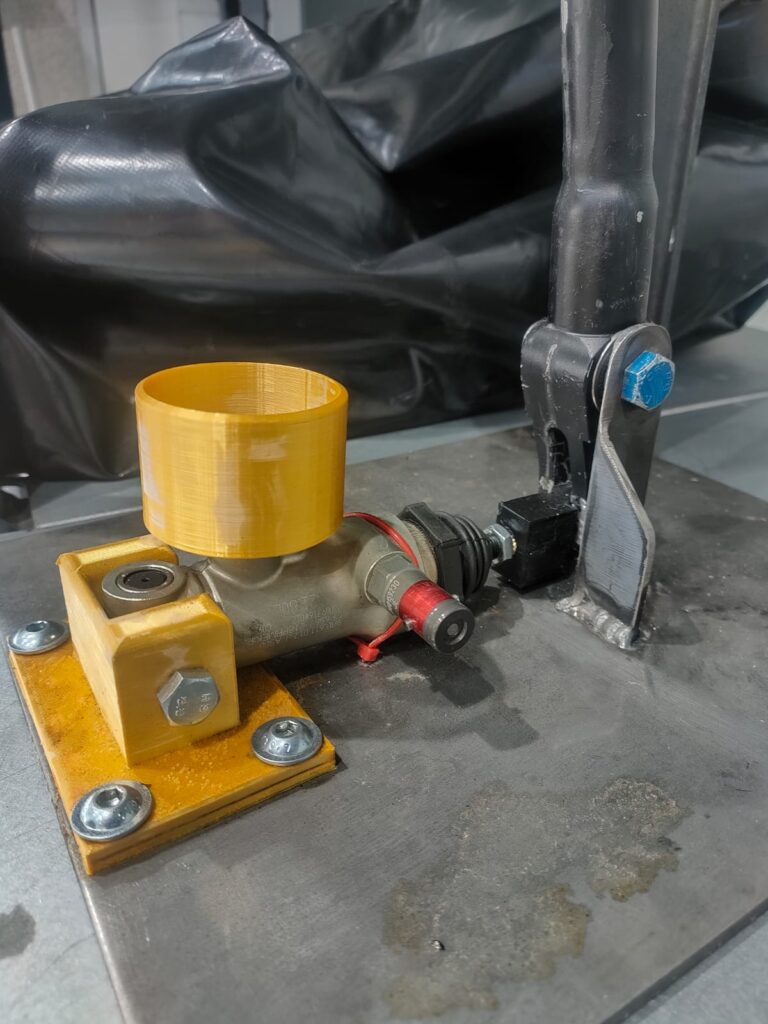
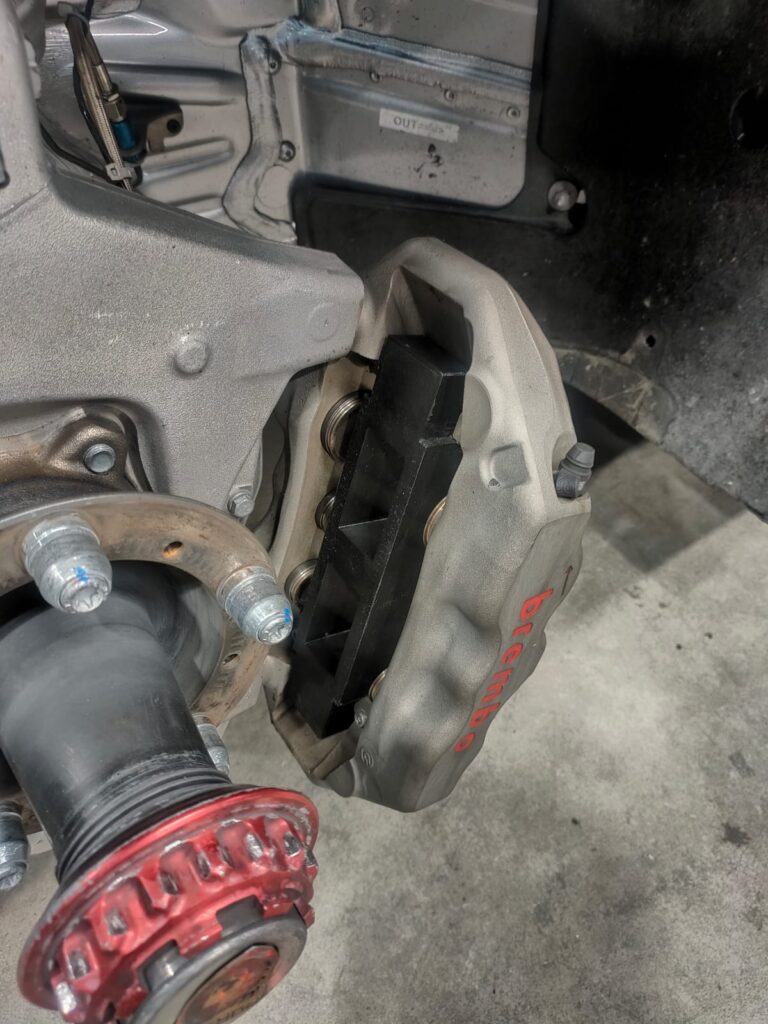
3D printing allows Schumacher CLRT to replace some of their heavier metal tools and parts with lightweight alternatives. It lets them produce intricate and unique parts that simply aren’t available from traditional suppliers. The CNC and Laser functions allow for even more capabilities, like making subtactive adjustments to various pieces and adding customizations across the car.
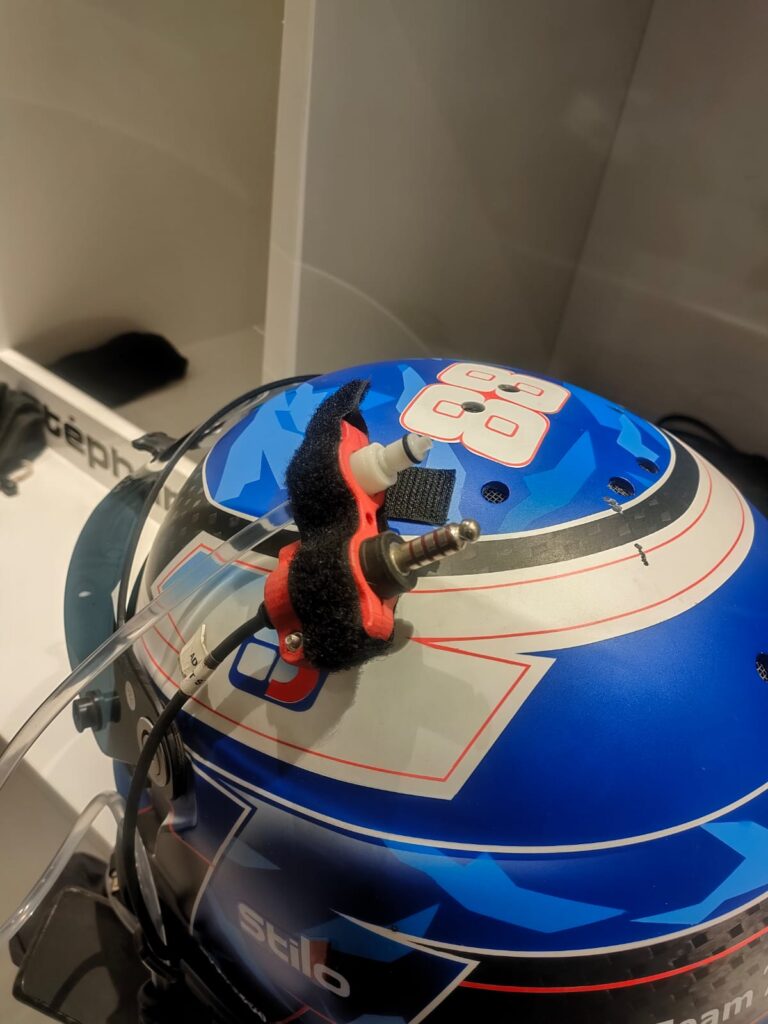
In the photo set below, you can see a wide range of specialized fasteners, adapters, caps, unique tools, custom mounting solutions, and all manner of precision parts specially designed to make the most out of their Porsche 992 GT3 Cup, 992 GT3R and 991 GT+ Rally Cars.


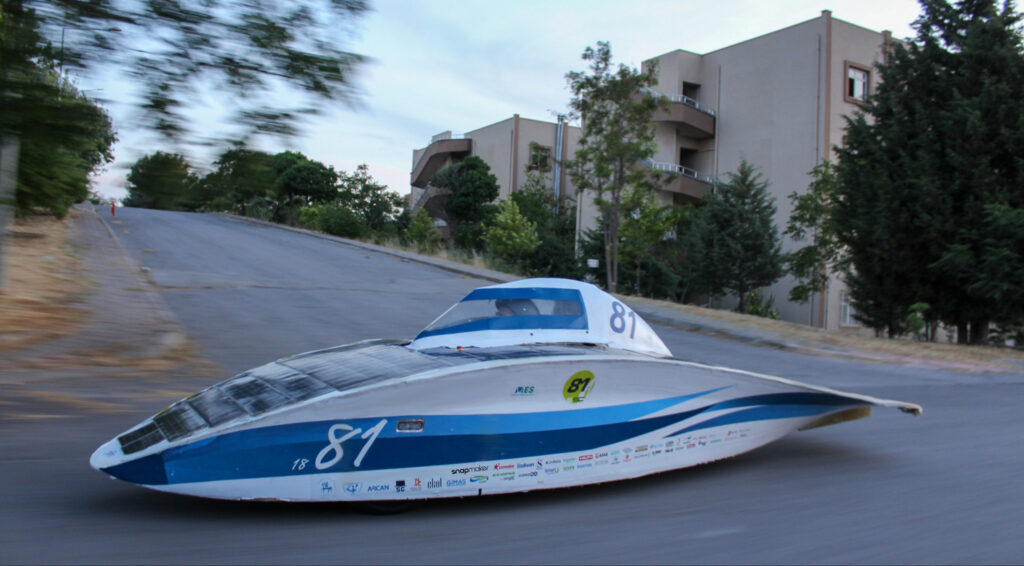
Team Solaris
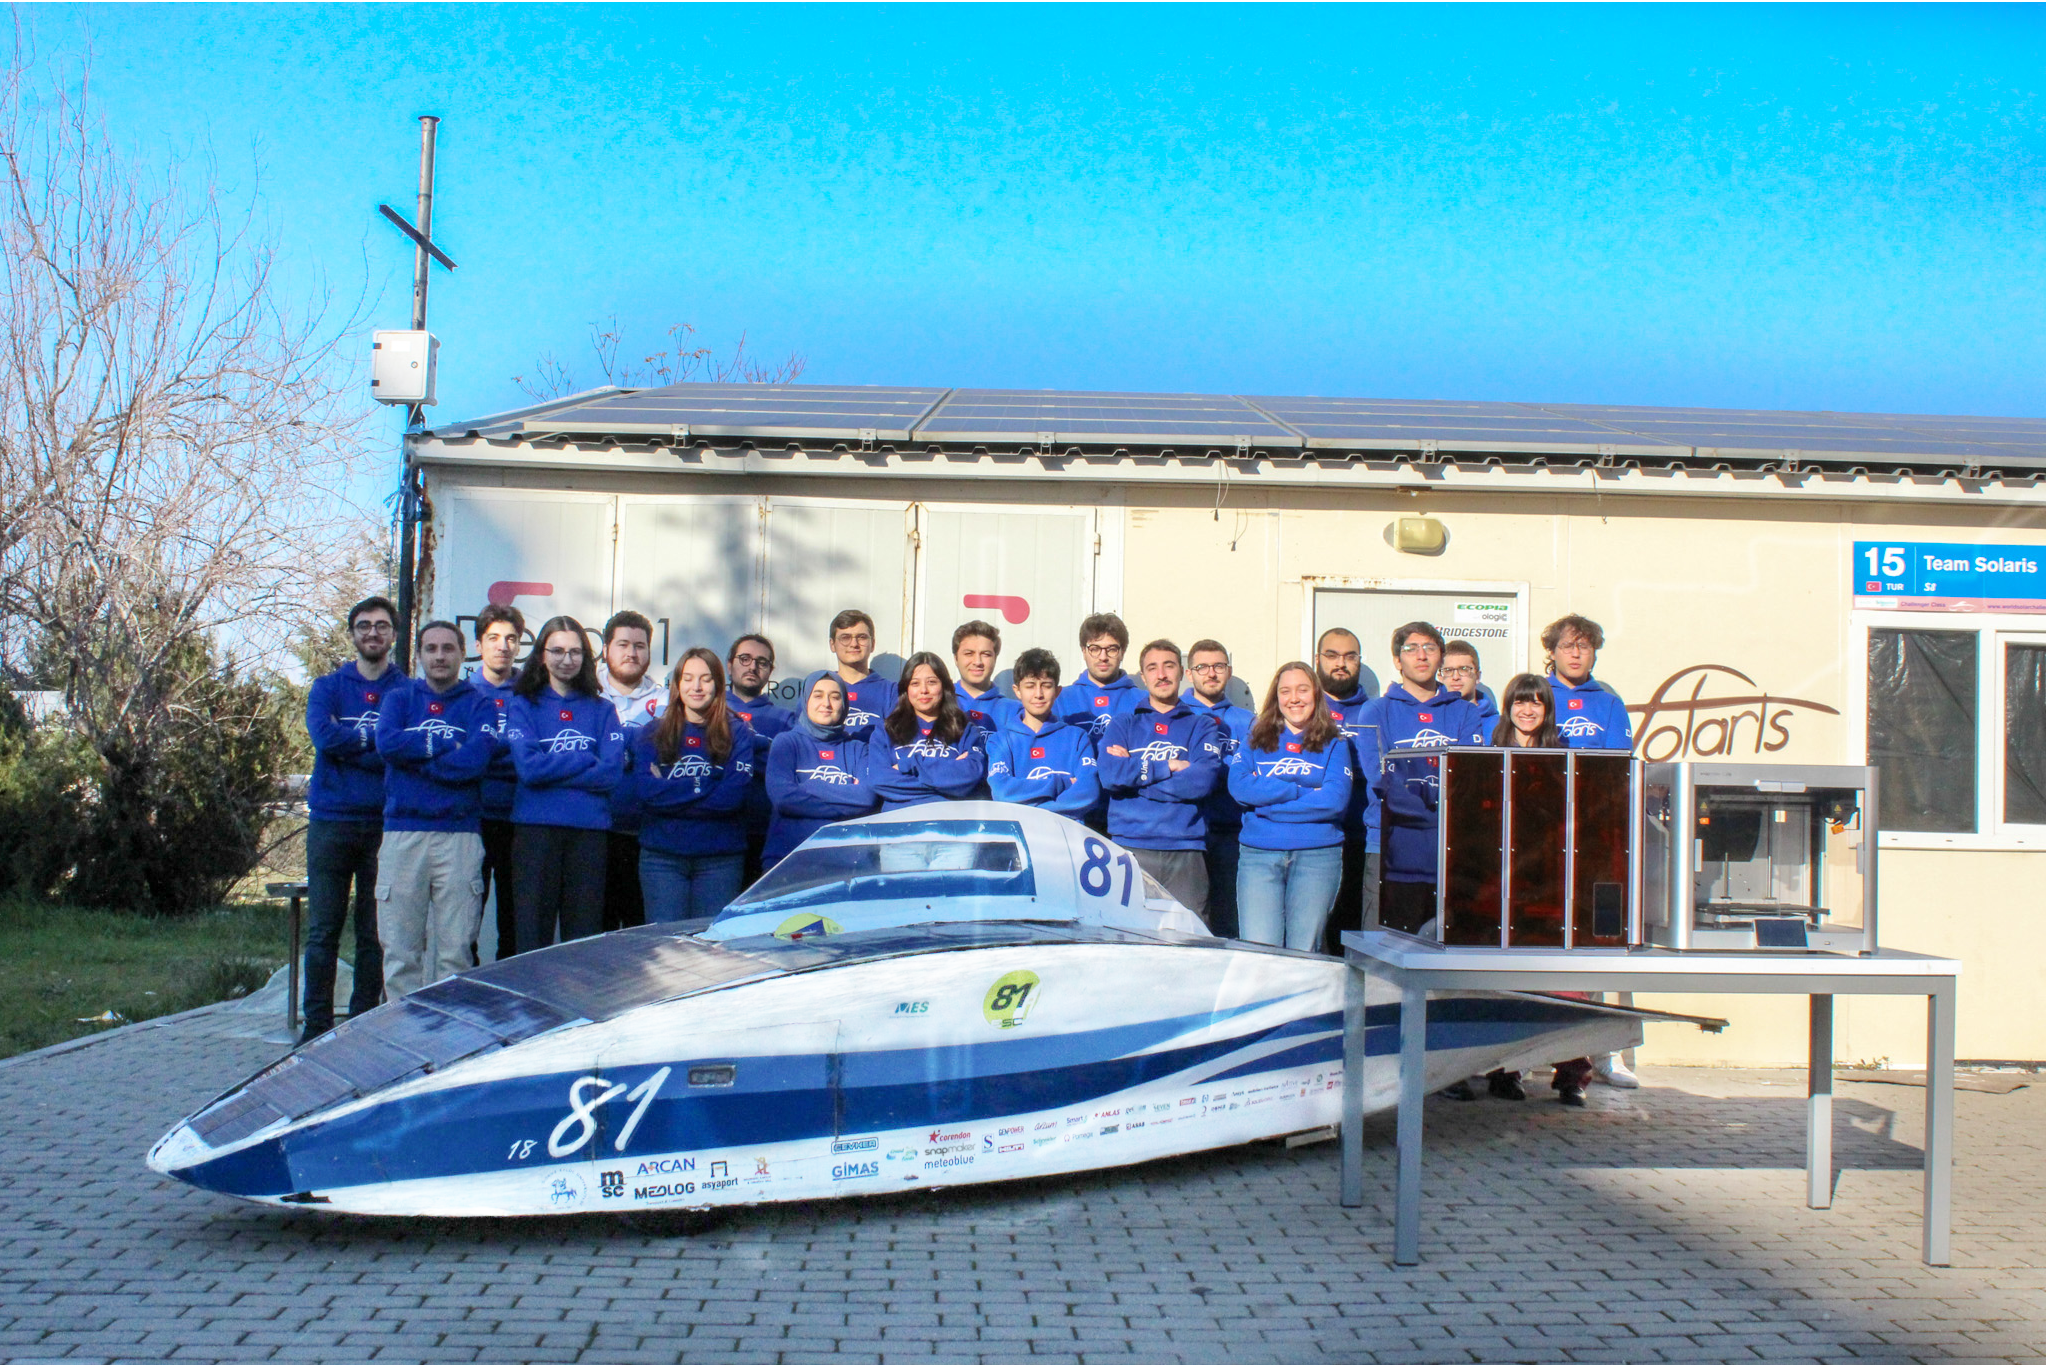
Team Solaris is a Solar Car Racing team from Dokuz Eylul University in Turkey. Specializing in electronics engineering, the team used the Snapmaker J1s and A250 to build PCB Boards, aerodynamic surfaces, and other specialized parts for their cars. This past fall, they took their S11 Solar Car to South Africa to take part in the Sasol Solar Challenge!
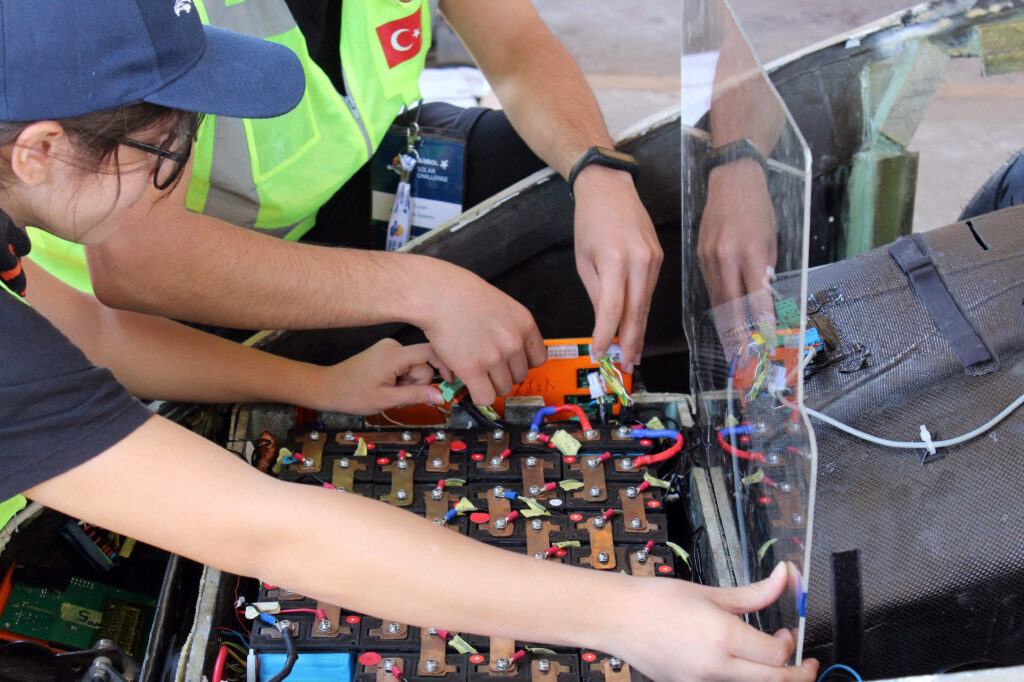

Here we’ll link to Solaris’ Instagram video where they show off how they used the Snapmaker A250 to build custom PCBs. By designing their own electronics hardware, Solaris has maximum control over their cars’ performance, efficiency, and weight.
Here we can see Solaris testing their car in a virtual wind tunnel, which allows them to simulate real world modifications to the car’s body structure. With the new design set up in the digital world, they use their J1s to print the required parts, and then install them!
This is the heart of Maker Culture – thinking, designing, building, and implementing.
And in this video we can see Solaris testing their machines, building models and novelty name plates to celebrate our collaboration!
Everidge Racing
Cassten Everidge took his his heavily modified Chevrolet SS all over the American Midwest in a series of intense stock car races – with the help of the Snapmaker Artisan Premium.
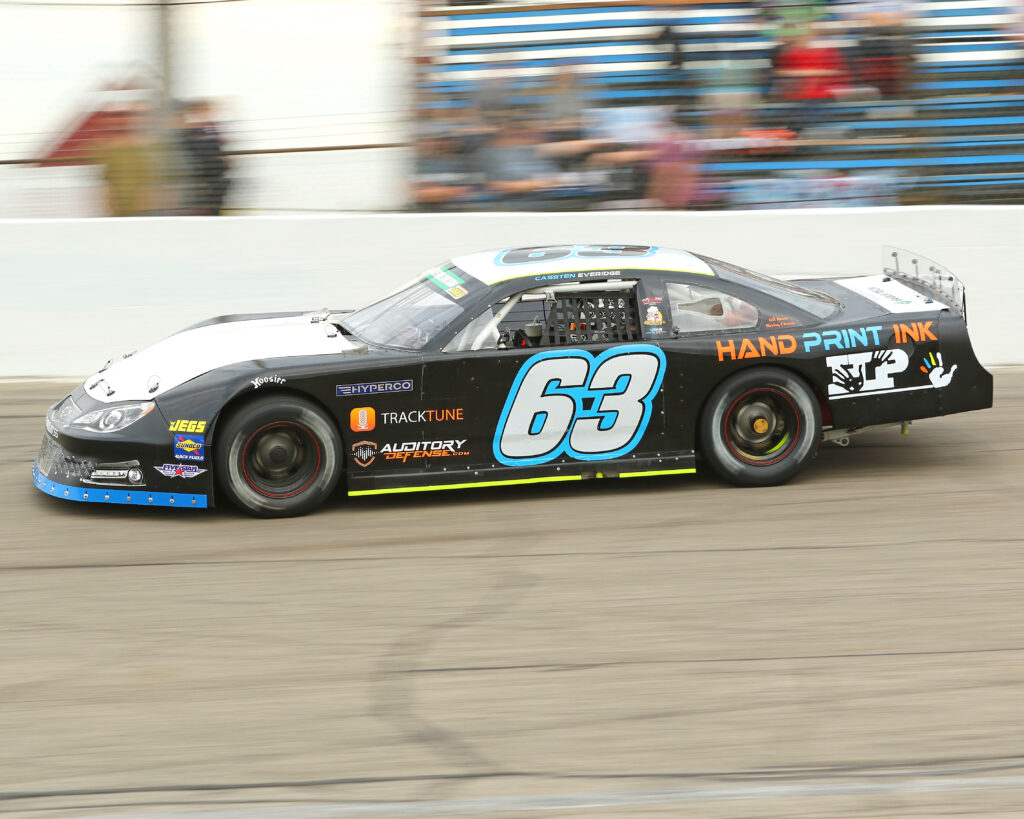

In this video, we can see him using the machine in some of his off-season projects:
Check out more from Cassten on his website, including this story from the Winchester Speedway!
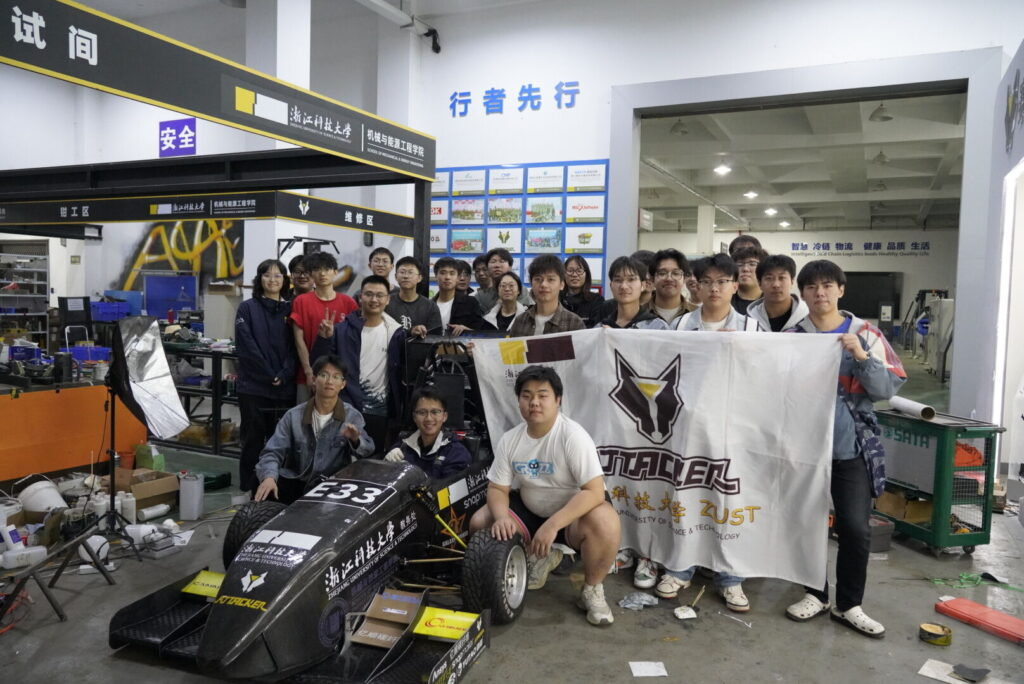
ATTACKER!
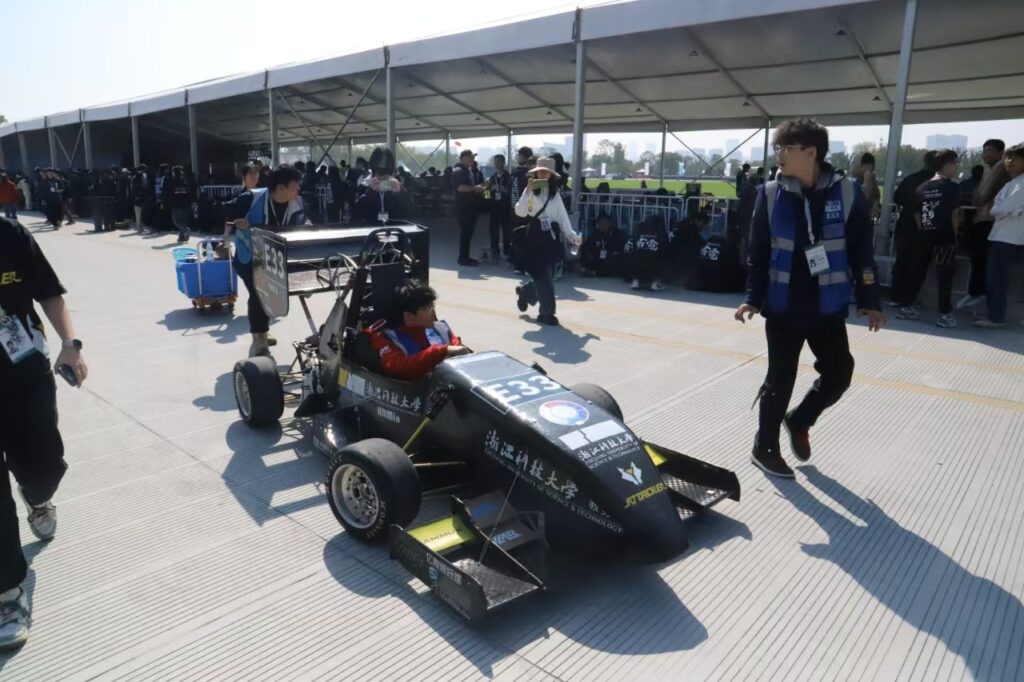
ATTACKER! is an EV racing team from Zhejiang University of Science and Technology, making full use of the Snapmaker Artisan Premium’s 3-in-1 capabilities to build custom parts for their racer. This past October, they took their racer to the NIO Cup in Hefei, China.

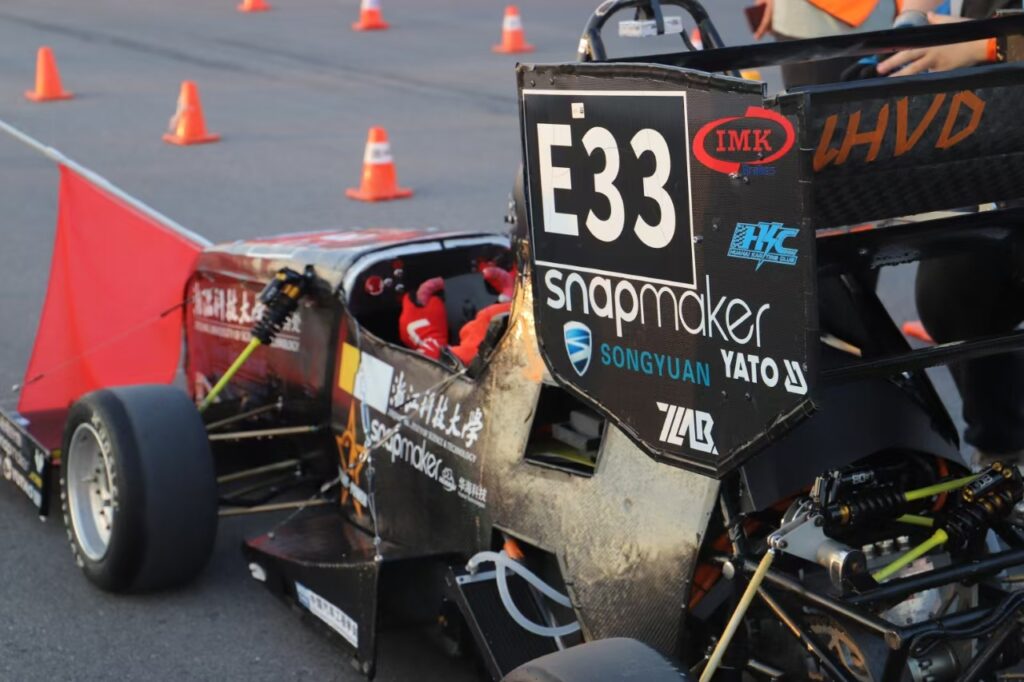
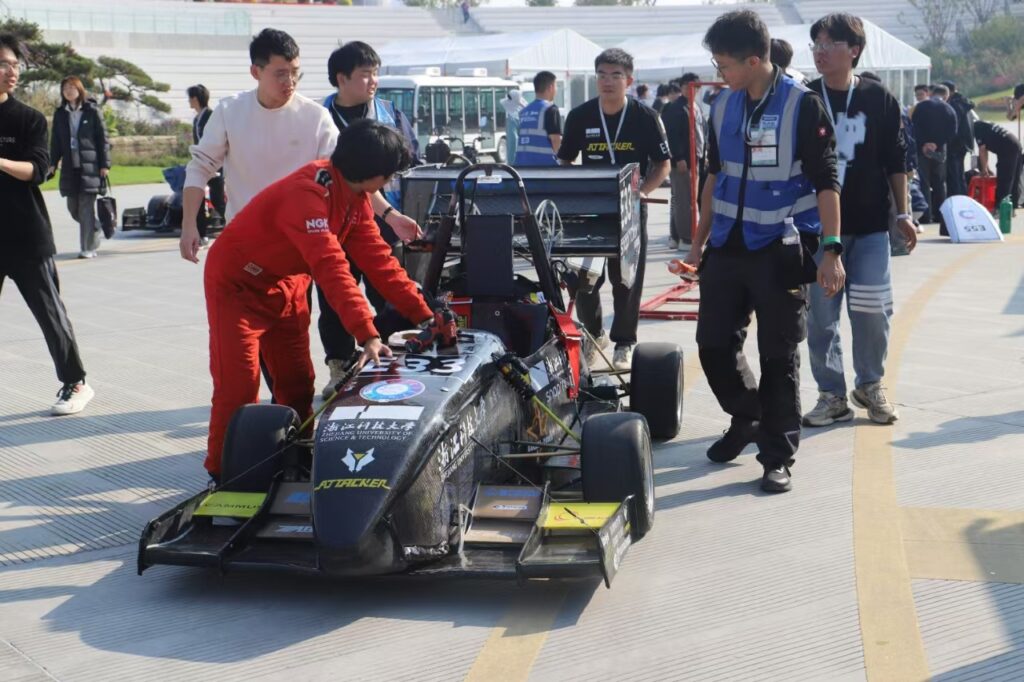
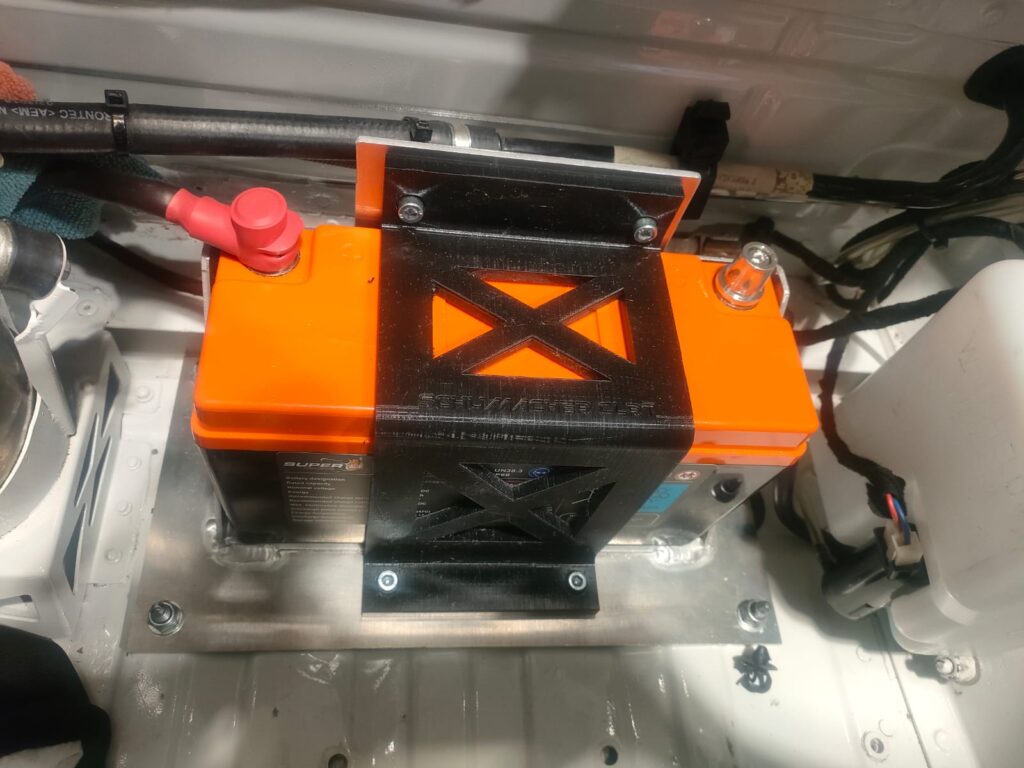
ATTACKER! used the CNC function to build special mounting brackets for the battery cooling system – while you can special order these custom parts for delivery, it was a lot faster to simply cut them out of aluminum on-site. 3D Printing was used extensively for molds for the car’s air ducts, battery box cover, and other assorted pieces. Finally, Snapmaker’s laser was perfect for building custom PCBs.
Let’s see the car in action here:
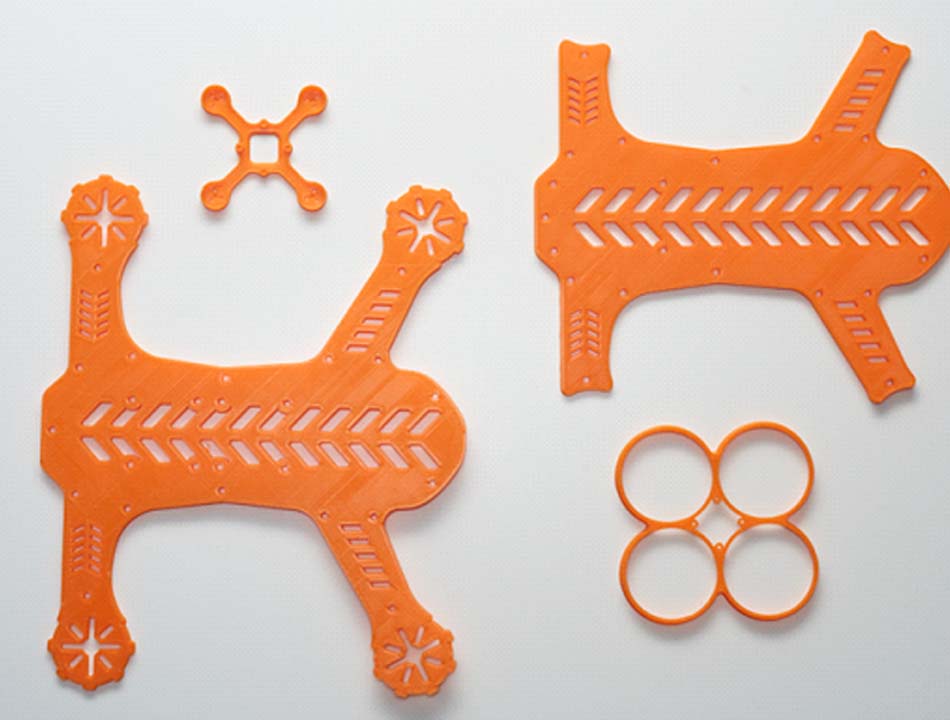
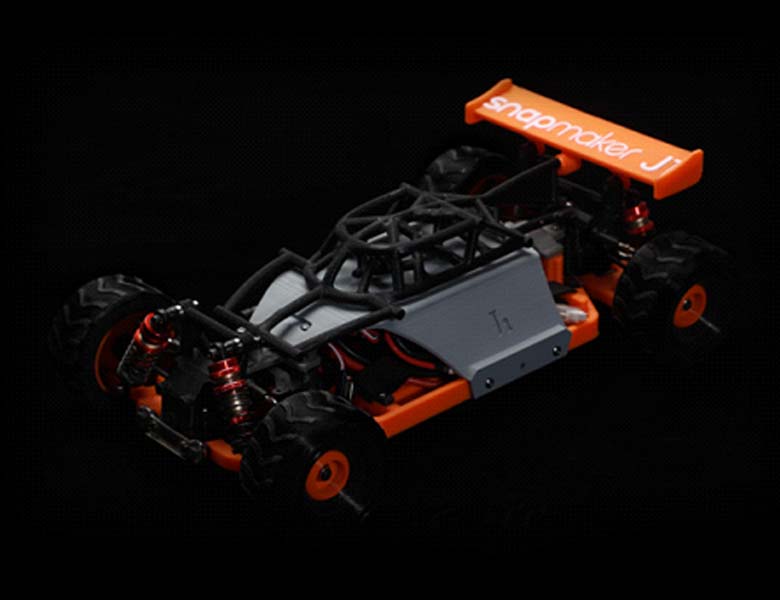
RC Cars
Snapmaker is a top choice for RC Hobby enthusiasts, including our friends Hemistorm RC, RCSparks, Soarpix3D, and more!
For Accelerate with Snapmaker, we partenered with Mr. Goodcat to produce this video on the Koenigsegg Jesko:
You can find the Car Body here: https://cults3d.com/en/3d-model/various/porsche-911-992-gt3-rc-car
And the RC Car Chassis here: https://www.thingiverse.com/thing:4892947
Also, we highly recommend watching Mr. Goodcat’s How To Video that he put together for another project on a Porsche 911:
And for an example of some of the amazing (non-RC) Model Cars our friends have built with Snapmaker, check out Duke Doks’ Back to the Future Delorean:
Hot Pursuit!
As part of Accelerate with Snapmaker, we launched a video contest, challenging Snapmakers to build real car parts, automotive artwork, and model cars – with a prize of $911!
You can check out all entries through the playlist here (the embedded video shows only the first entry but Watch on YouTube and you can see the whole list):
Or jump straight into the winner’s circle:
 Auto Art Award: @ Whiskyclubcanada
Model Car Winner: @ BerndMichalak
Real Car Part Winner: @ Alin_3196
Stay Tuned for Accelerate with Snapmaker 2025!
Sincerely,
The Snapmaker Pit Crew
The post Accelerate with Snapmaker appeared first on | Blog.
]]>The post Snapmaker 2024: In The Rear View Mirror appeared first on | Blog.
]]>This year, we sponsored Schumacher CLRT, a Porsche Racing Team, who made the most of the Artisan and J1s, using 3D Printed, Laser Cut, and CNC’d part to dominate races all over the world, from Spain to Italy to Macau to Saudi Arabia.
This wasn’t the only team we sponsored as part of Accelerate with Snapmaker – find out more here.
Snapmaker Supercharged Cinema
Check out these projects from our friends all over YouTube! Whether its building a special tool missing from your workshop, putting together the ultimate trap to catch Santa, or building a time-traveling Delorean, Snapmaker’s 3-in-1 machines make it possible.
Unleash the SnapDryer
At Formnext 2024, we unveiled our first collaboration with PolyMaker, the SnapDryer.
- Dry and store your 3D filament in one solution with this modular design. Say goodbye to your filament’s moisture, and hello to your project’s creativity!
- Buy it here!
Key Products
1064nm Infrared Laser Module
Released in the Spring of 2024, the 1064nm Laser Module unlocks a whole new set of ultra-fine, precision engraving capabilities to your Snapmaker machine.
Artisan Premium 3-in-1 3D Printer
In June we released the Snapmaker Artisan Premium, the Ultimate 3-in-1 Machine. It comes with a dual extrustion 3D Printer Module, a powerful 40W Laser, and a 200W CNC Module, with a massive 400mm3 workspace.
Supercharged Software
Upgrade to Snapmaker Orca
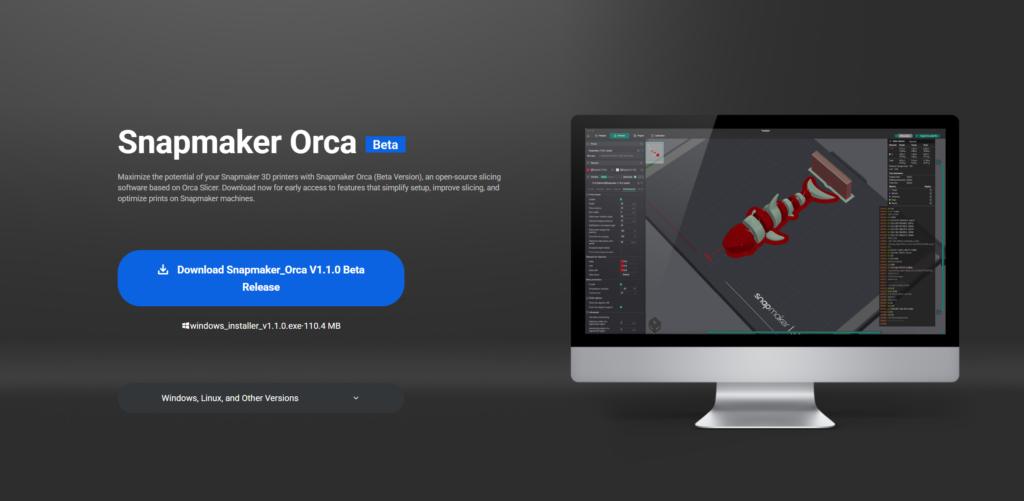
Snapmaker users have been asking for official support for their 3rd party integrations for a long time – you asked, we delivered.
- Join the Beta here.
- Dive into the details on the Snapmaker Wiki
- Support: https://snapmaker.formcrafts.com/support-ticket
- Join the Discussion: https://forum.snapmaker.com/t/snapmaker-orca-v1-1-0-beta-issues-report-discussions/38235/5
Videos Galore!

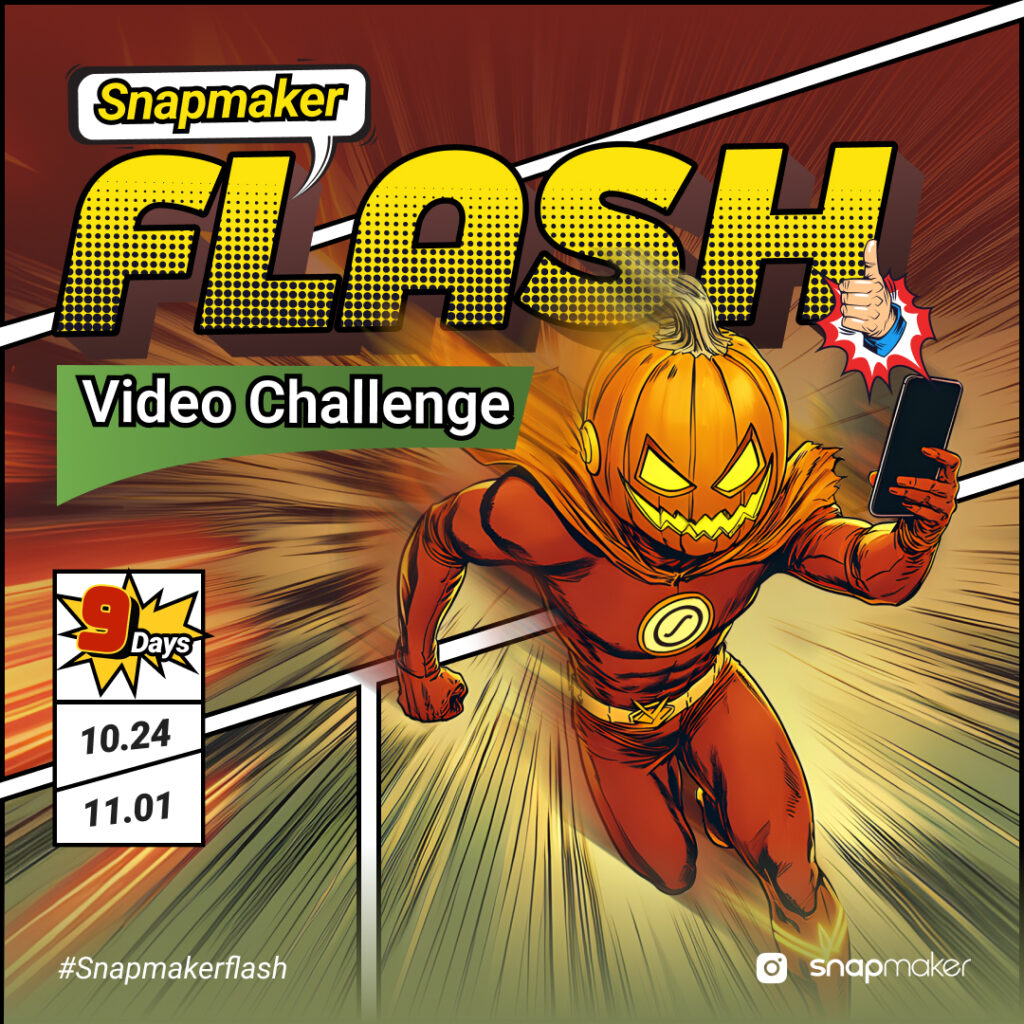
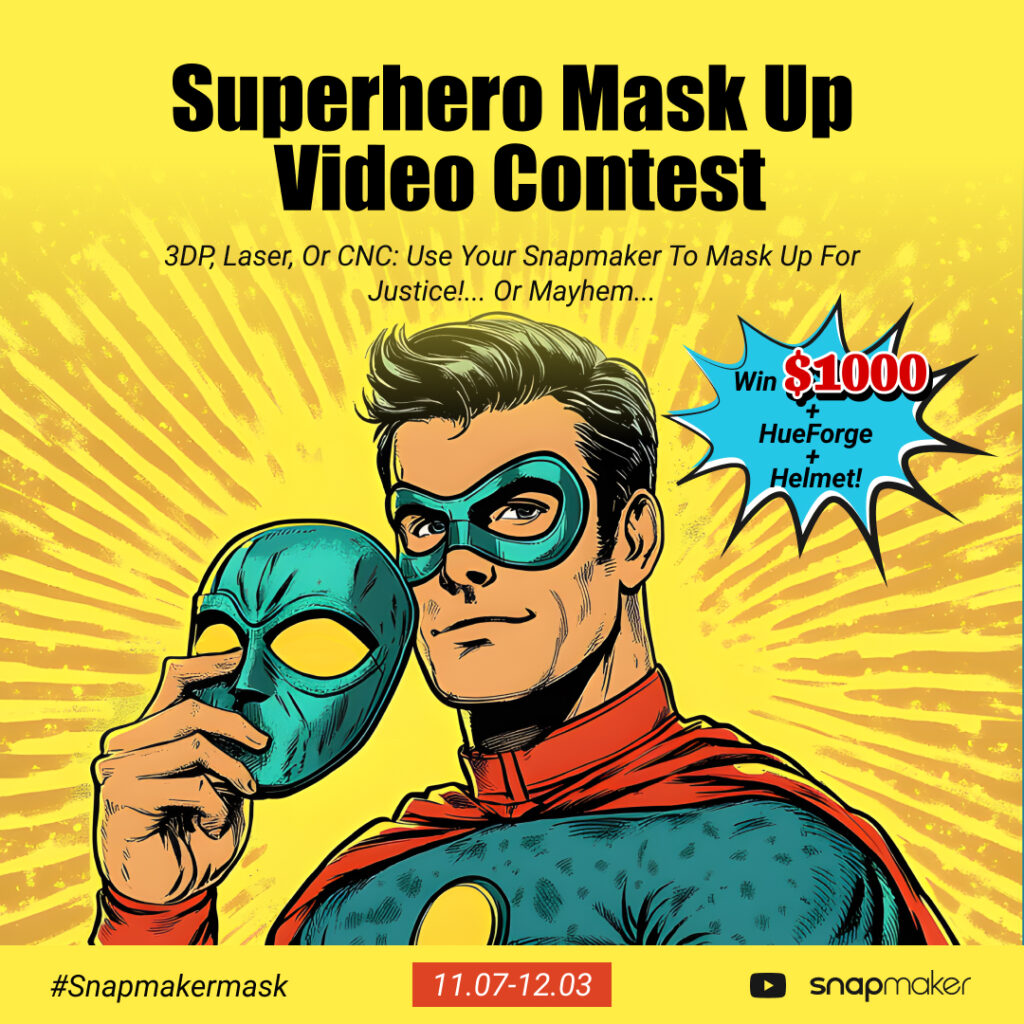


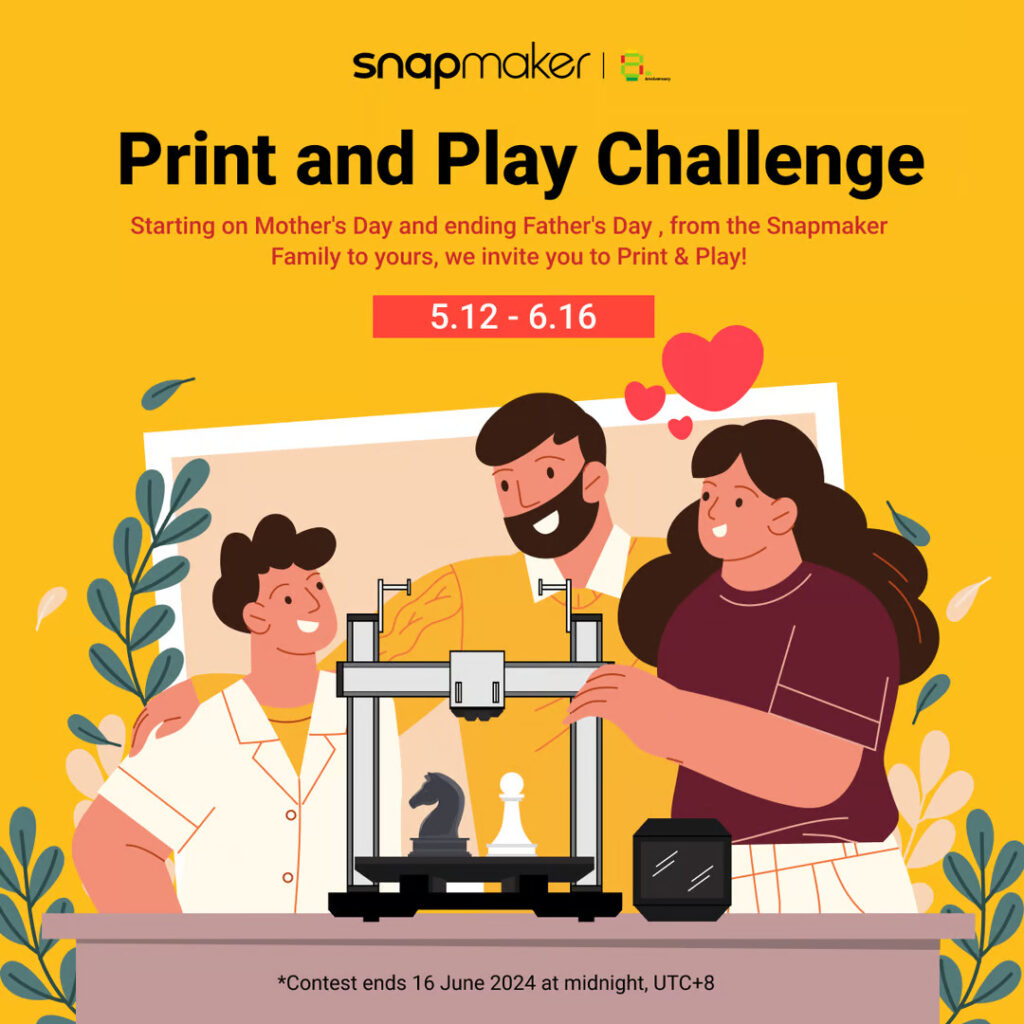

In 2024, we started running regular Snapmaker Video Contests, kicking it off with Winter Wonderland (okay, technically that started in 2023), and developing this into a new contest every month or two!
Prizes ranged from free Snapmaker products to mega cash prizes, up to $1225 USD for the Home Alone Video Contest!
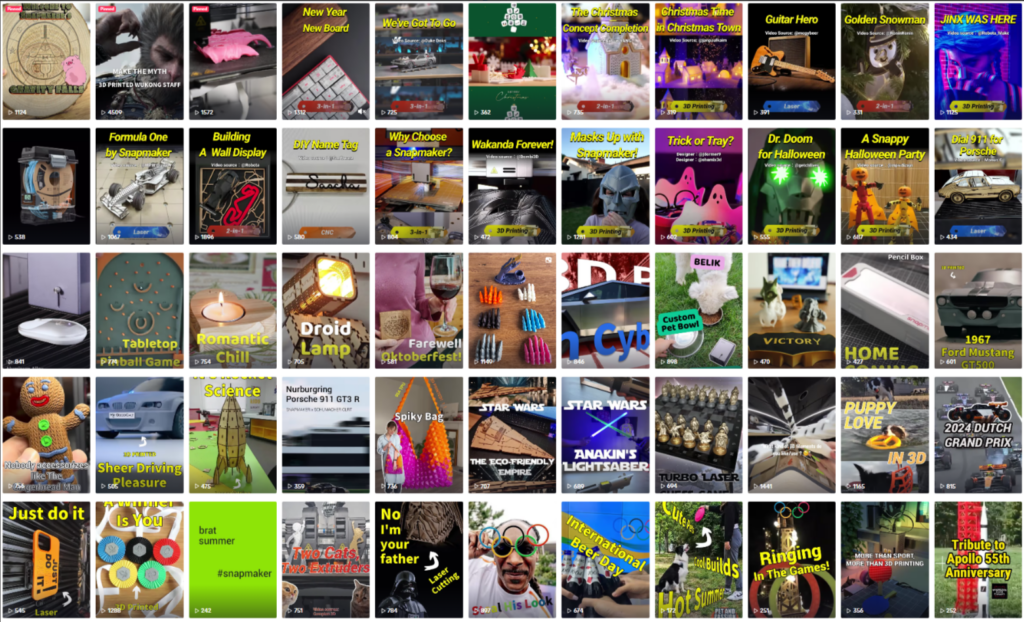
Click on one of the tiles above to check out the contest and view the video gallery of submissions!
Or check out the playlists on YouTube.
Vertical Videos
In 2024 we had the pleasure of launching our Short Video Project, a little behind-the-scenes effort to dramatically increase the number of short videos we post. These videos come from our in-house graphics team, user generated content, and external professional studios.
Follow our accounts!
- Instagram: https://www.instagram.com/snapmakerinc/
- YouTube: https://www.youtube.com/@Snapmaker/shorts
- TikTok: https://www.tiktok.com/@snapmaker_global
- RedNote (小红书): @snapmaker
8th Anniversary Maker-a-Thon
June 1st was Snapmaker’s 8th Anniversary, so we held our annual Maker-a-Thon. 10 Teams, 10 Projects, 1 Big Party.
You can check out our Blog Post here: https://www.snapmaker.com/blog/8-years-of-playing-well-join-the-celebration-with-play-well-makerathon-artisan-premium-launch-and-more/
And make sure to download your Snapmaker Mini 3D Printable Models here! https://wiki.snapmaker.com/en/important_installation_tips_for_mini_snapmaker_models
Here’s to Snapmaker: Year 9!
Sincerely,
The Snapmaker Team
The post Snapmaker 2024: In The Rear View Mirror appeared first on | Blog.
]]>The post How to 3D Print Multiple Colors: 3 Main Methods appeared first on | Blog.
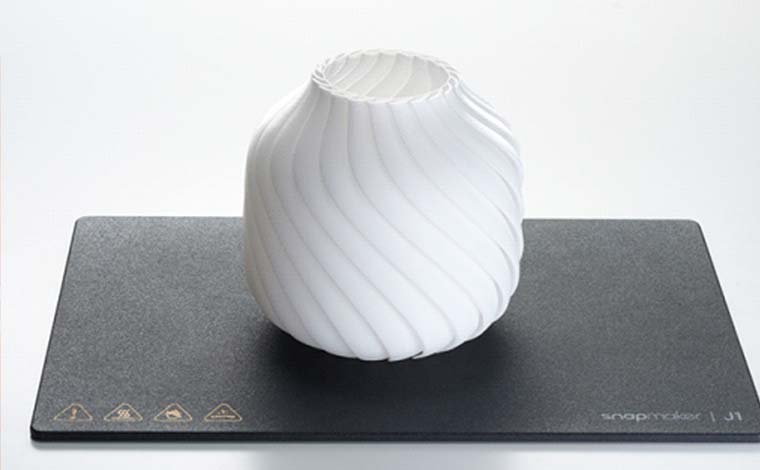
]]>Whether it’s fashion, furniture, architecture models, automotive spare parts, medical implants, or just to channel your creativity, 3D printed models are the best way to make your ideas come alive.
Want to learn more about 3D printing? Keep reading to find out!
Why Print in Multiple Colors?
Multiple-color 3D printing is a sustainable process that leaves minimal waste while allowing you to make detailed products quickly. The fact that it has become cheaper than before, allowing manufacturers to make higher quality products with relative ease, has made 3D printers more accessible to private organizations and businesses.
Suppose you are manufacturing prototypes for your product, whether architecture or consumer-centric. In that case, it gives them a more authentic feel and allows investors to see the potential in your business. Besides that, you have more control over the end product, where you can add details or remove features on the soft form of your design in the CAD software before transferring it to CAM software.
Multiple-color 3D printing can change the game for you once you get the hang of it. Since you can do 3D printing in multiple ways, you can choose whichever is most convenient for you and make the most of your products.
Method 1: Printing Single-Color Components and Assembling Them
One of the ways you can 3D print in multiple colors is by using a single color extruder to create the components of the same color, by separating STL files and arranging the components afterward to assemble your end product.
To join the different components, you can use super glue, hot guns, epoxy, or any other bonding material to fasten the pieces together.
It’s quite a straightforward and budget-friendly option for 3D printing in multiple colors, but it is more time-consuming since you’ll need to take the time to assemble your products.
Method 2: Using Dual Extruder 3D Printers
Snapmaker J1S is an excellent choice for dual extruders for multiple-color 3D printing, thanks to its IDEX technology that allows the dual extruders to print simultaneously and independently.
Snapmaker Artisan takes it one step further, integrating 3D printing, CNC, and laser cutting all in one machine, allowing you to make the most of your 3D printer.
After designing your model, assign each part to different extruders, configure the settings according to the filament, and use the slicer to generate the G-code, allowing the extruders to switch at appropriate times.
Although this may be a bit more costly than the assembling method, it yields better results while making the process more efficient.
Related reading: What is a Dual Extruder 3D Printer? The Possibilities and Limitations
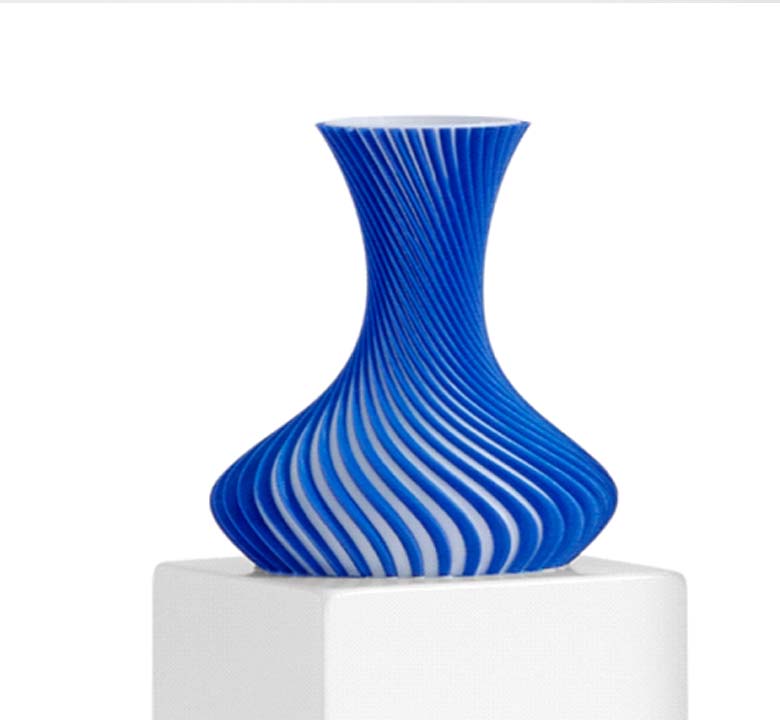
Method 3: Using Multicolor Filaments
Multicolor filaments are an efficient way to achieve multicolor 3D printing, but their precision depends on the specific printing method and filament type. Single-nozzle printers using multicolor filaments can streamline the process, but the color transitions may appear blurred or imprecise. On the other hand, multi-nozzle printers offer greater control over color placement, making them ideal for designs that require high precision.

Multicolor filaments are particularly suitable for creating creative effects like gradients, rainbows, or glow-in-the-dark designs. However, these effects require careful planning and advanced slicer settings to ensure the final product meets expectations. Designers should be prepared to experiment to achieve the best results.
Factors to Consider Before Printing Multiple Colors
Multicolor 3D printing is a step up from sculpting models in one color, but there are a few factors you need to consider beforehand.
Is Your Printer Ready for Multicolor 3D Printing?
Whether or not you are ready for 3D multicolor 3D printing depends on your printer. Some printers are more suited to multicolor 3D printing than others, depending on the type of product you are creating as well as the technique you are accustomed to.
Using a 3D printer with a single extruder and assembling them afterward might be easier for some people than using a multicolor filament or double extruder that combines colors and printers in one print.
You also need to ensure your CAD and CAM software are up to date to ensure the precise development of your product.
Materials for Multicolor 3D Prints
You also need to pay attention to the materials you will use for 3D printing. PLA is a good option, along with ABS or PETG, which are more durable but require more experienced designers and advanced settings.
The type of product you create will also determine the materials you need to use, so make sure you plan it out carefully.
Calibrating Your 3D Printer for Multicolor Success
3D printing in multicolor requires precision, especially in dual extruder printers, which start with proper calibration. This means ensuring the extruder’s accurate setting concerning the filament’s amount and temperature. X, Y, and Z axes must also be measured to ensure the printer is assembled correctly. At the same time, routine maintenance of the extruders allows them to do their job correctly, which prevents unnecessary bleeding of nozzles or irregular smudges.
Considering all these factors will save you time and losses that come with 3D printing, resulting in professional-looking products that will surely make investors and customers swoon.
Bring Your 3D Creations to Life with Colorful Innovation.
Multiple-color 3D printing is a sure way to upgrade your products and channel your creativity by bringing your ideas to life.
It doesn’t matter what printing method you choose. Whether printing with a single extruder and assembling afterward, using a double extruder to switch between two colors, or using a multicolor filament printer to print simultaneously, each one will be a worthy companion in your creating process.
If you want to take your products to the next step, Snapmaker 3D printers will make a great choice, producing great results in less time.
So, ready to create vibrant 3D prints? Start with these techniques and bring your ideas to life!
FAQs About Multi-Color 3D Printing
Yes, it is possible to print multiple colors with a single extruder by manually swapping filaments at specific points during the print or using multi-color filaments. This method requires careful planning in your slicing software and may involve pausing the print to change colors.
Dual extruder printers, like the Snapmaker J1S or Snapmaker Artisan combain with Dual Extrusion 3D Printing Module, are among the best options for multi-color 3D printing. These printers allow seamless transitions between colors and are highly versatile for multi-material prints.
Yes, multi-color filaments can be used with both single and dual extruder printers. However, in dual extruder setups, you gain more control by assigning specific filaments to each extruder, allowing for more complex designs.
Ensure proper printer calibration, especially for dual extruder models to prevent color bleeding. Regularly clean the nozzles and use high-quality filaments to minimize blending or smudging during the print.
Slicing software like Cura, PrusaSlicer, or Simplify3D is essential for preparing multi-color prints. These programs allow you to assign colors to different sections or layers and preview the final output before printing.
Multi-color printing can be slightly more expensive due to the need for additional filaments or dual extruder setups. However, the added cost is often worth it for the improved aesthetic and functional results.
Many modern 3D printers with dual extruders or filament sensor systems can switch colors automatically during printing. However, single extruder printers require manual intervention to change colors mid-print.
The post How to 3D Print Multiple Colors: 3 Main Methods appeared first on | Blog.
]]>The post Snapmaker @ Formnext 2024 appeared first on | Blog.
]]>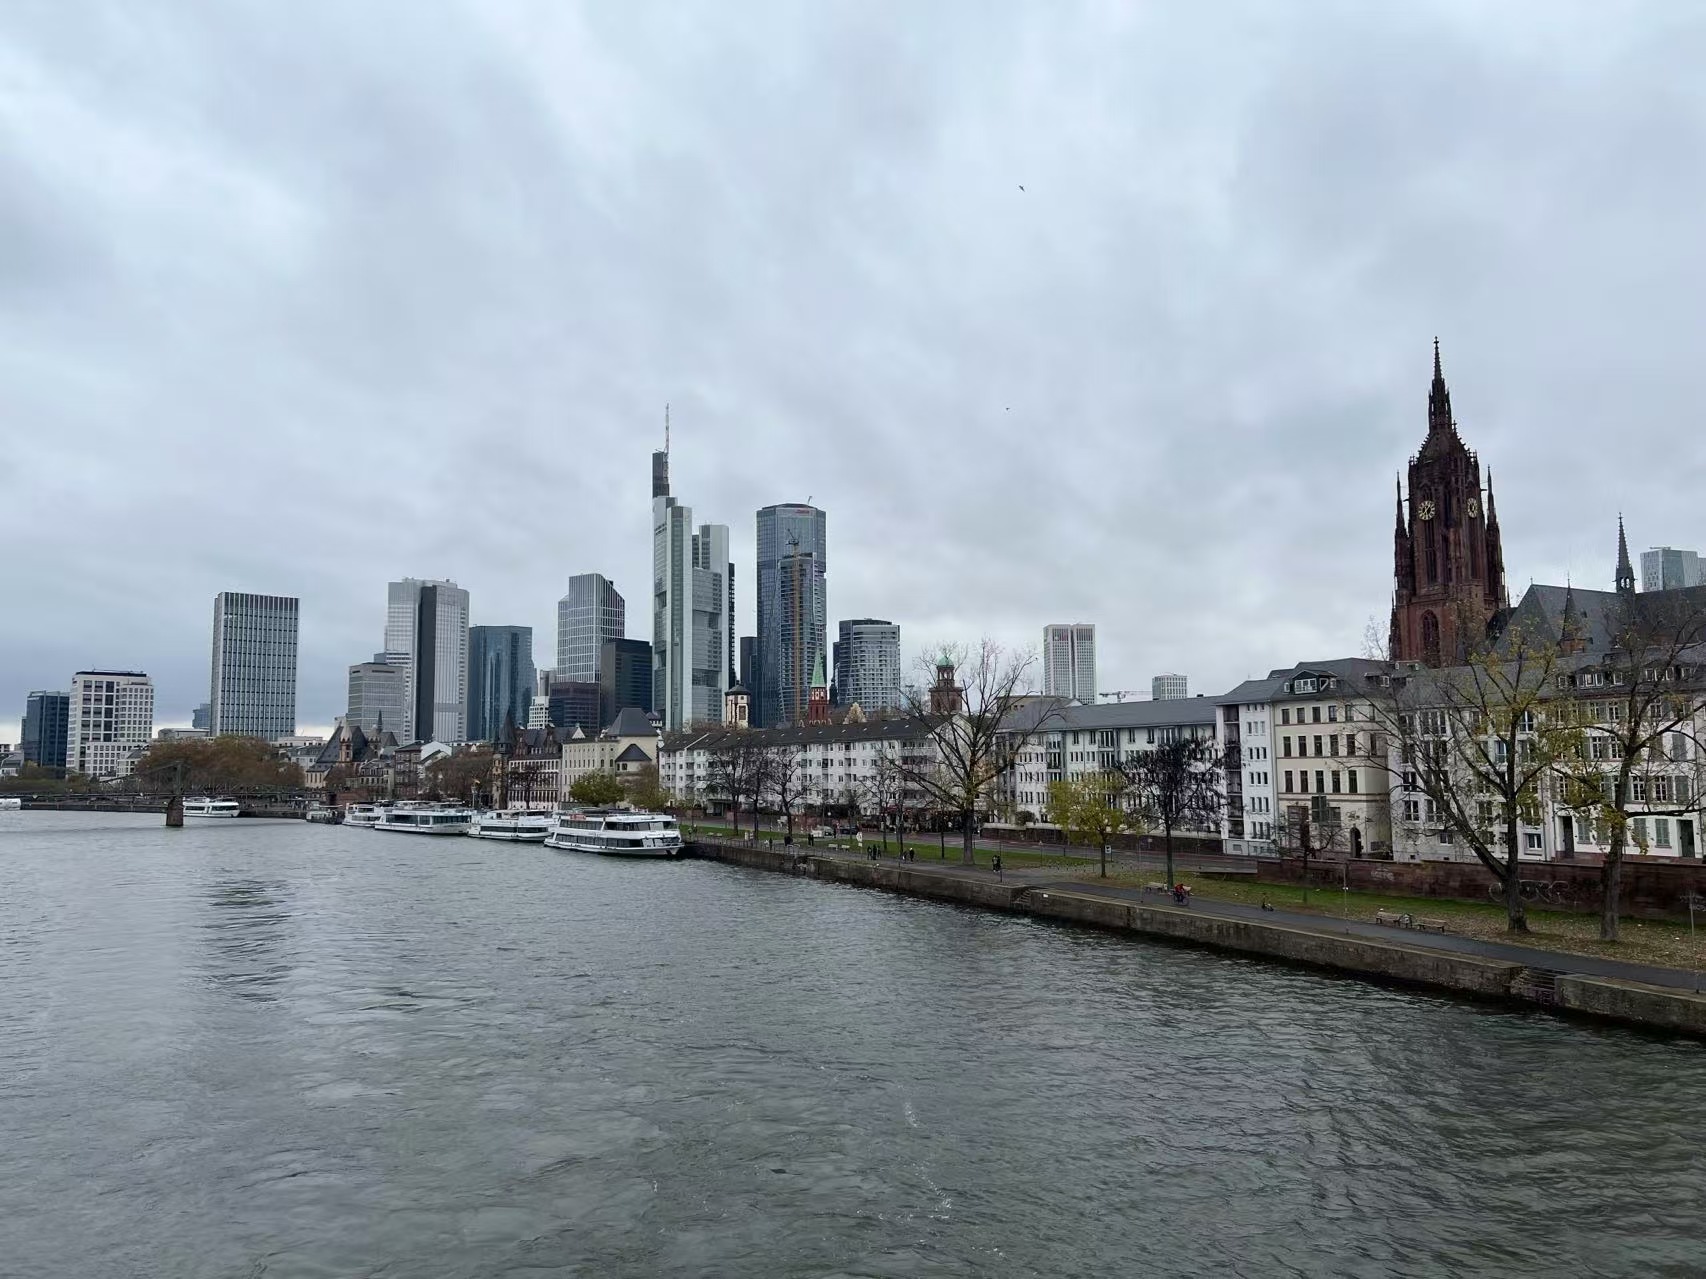
Snapmaker @ Formnext 2024
This year, 2024, Snapmaker headed out to Frankfurt to take part in Formnext, one of the world’s largest 3D Printing and Additive Manufacturing Expos!
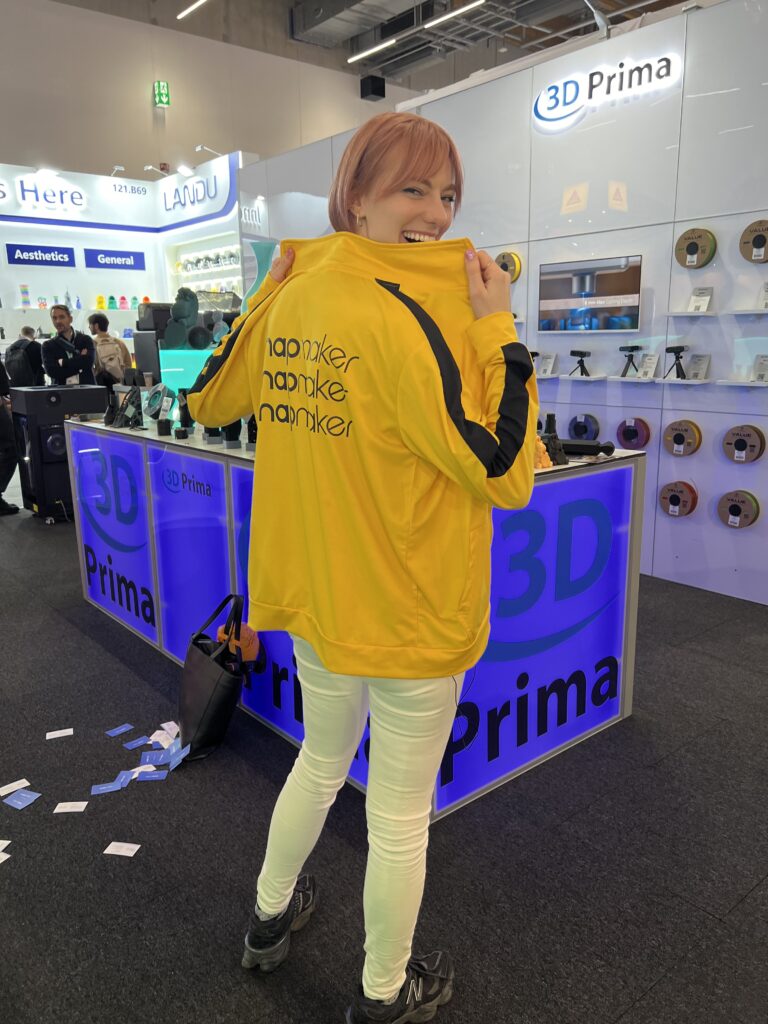
We partnered with our premiere Northern European Distributor, 3D Prima, to make our presence known, meet with Snapmaker fans, and catch the latest scoops from the world of 3D Printing.
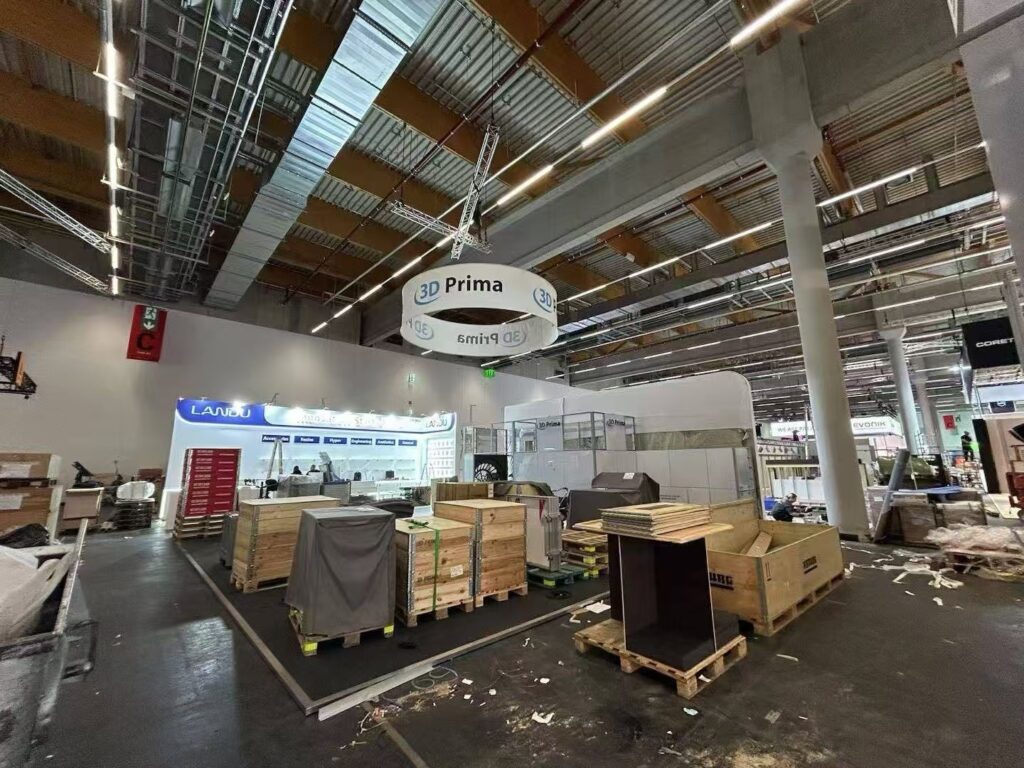
Setup the day before the show started was an intense operation, but seeing the whole space go from this mess to the slick presentation hall that emerged on Day 1 was incredible.
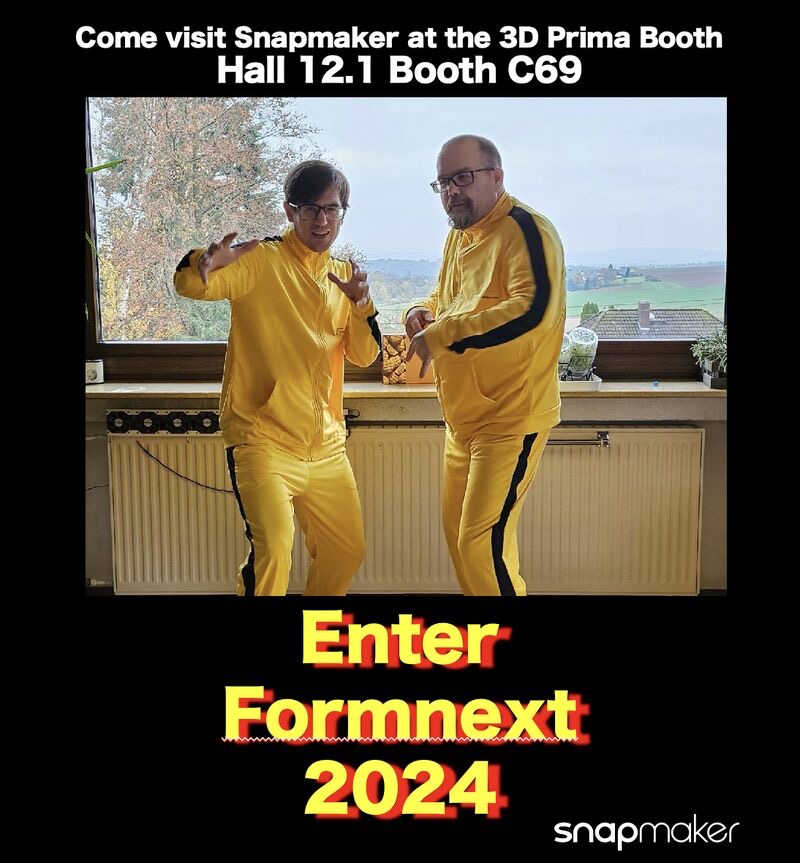
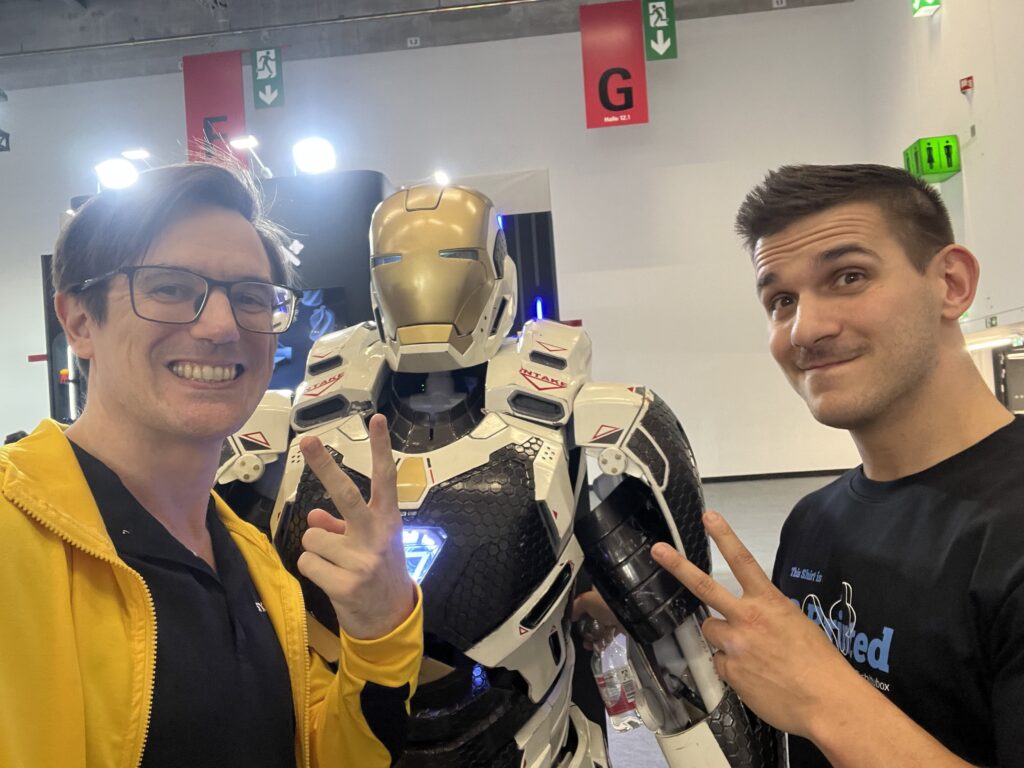
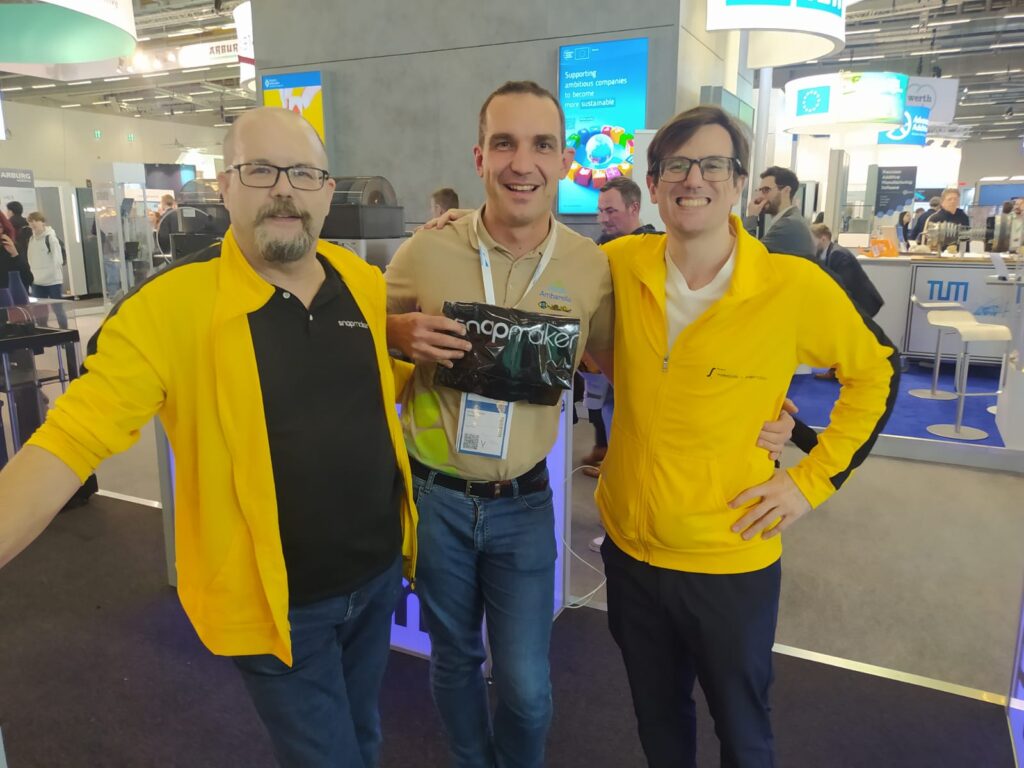
The Bruce Lee outfits were originally just a silly idea, but after thinking it through, we decided that the bright yellow would be an excellent way to find us and make sure Snapmaker fans could connect with us. Some fans started referring to us as “The Banana Boys”.
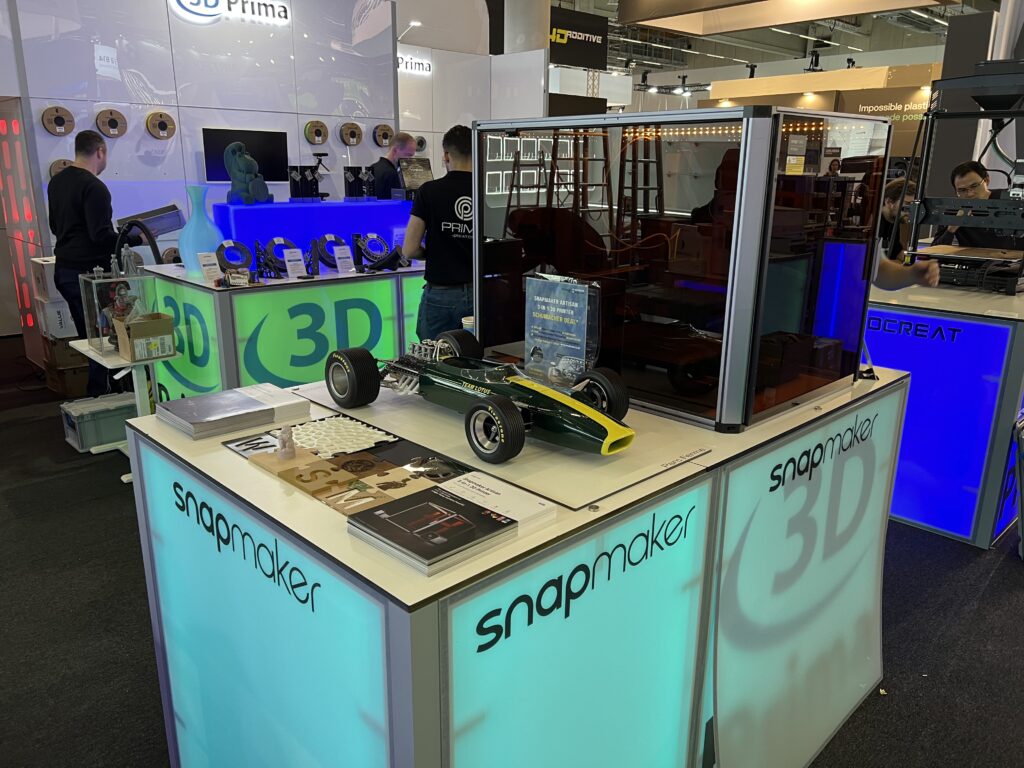
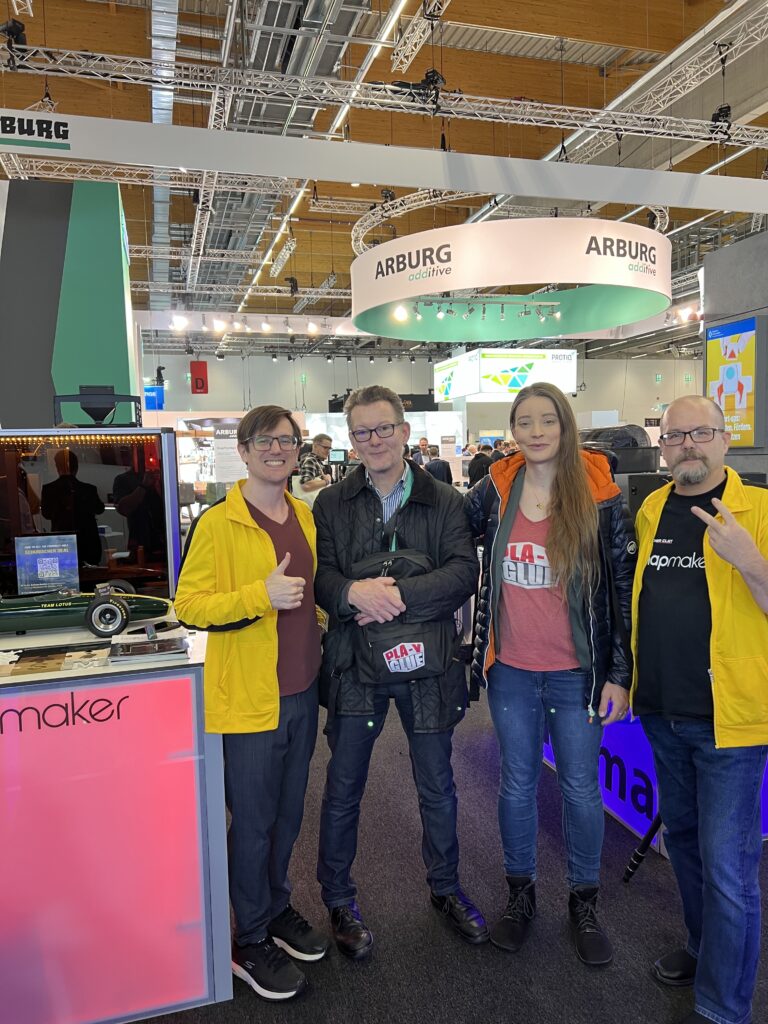
Our table in the 3D Prima booth really started coming together when Mr. Bernd Michalak brought his gorgeous 1967 Lotus 49 1:5 scale model over, an incredible piece made almost entirely with his Snapmaker Artisan. This was quite the head turner!
It even caught the attention of Mr. Jonathan Levi (The Next Layer) who did a great job guessing exactly how each part was built and finished!

The Formnext 2024 Snapmaker Team, aka The Banana Boys (sans outfits).
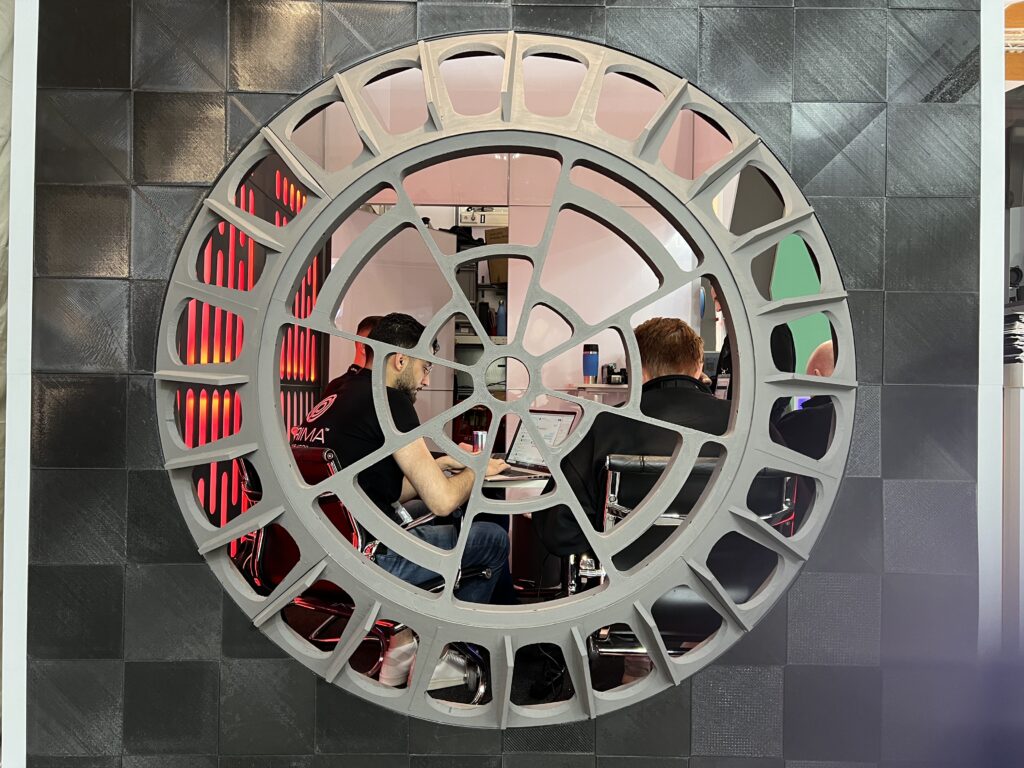
The corner of the booth was stylized like the Millenium Falcon, and excellent place to take meetings or get some computer work done.

We headed over to the Polymaker booth to meet up with their Marketing and PR folks, to talk drop off the SnapDryer, where it was first unveiled to the public!
Check out the launch video for more Formnext content!
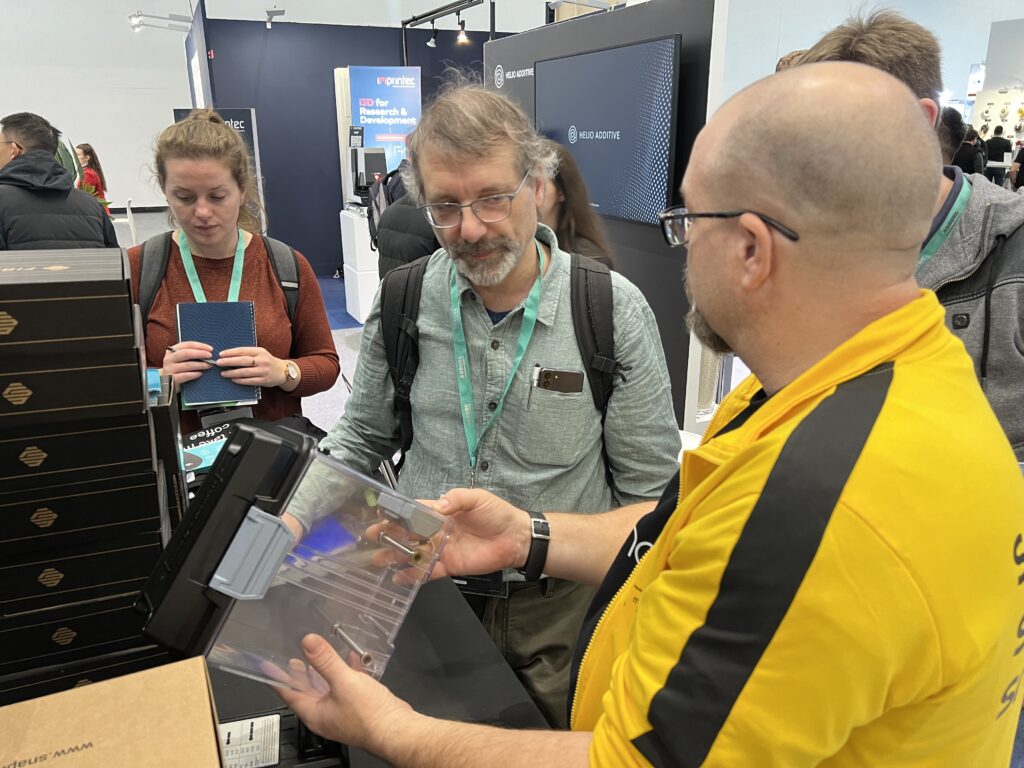
It’s an excellent accessory, you can check it out here: https://us.snapmaker.com/products/snapdryer-by-polymaker
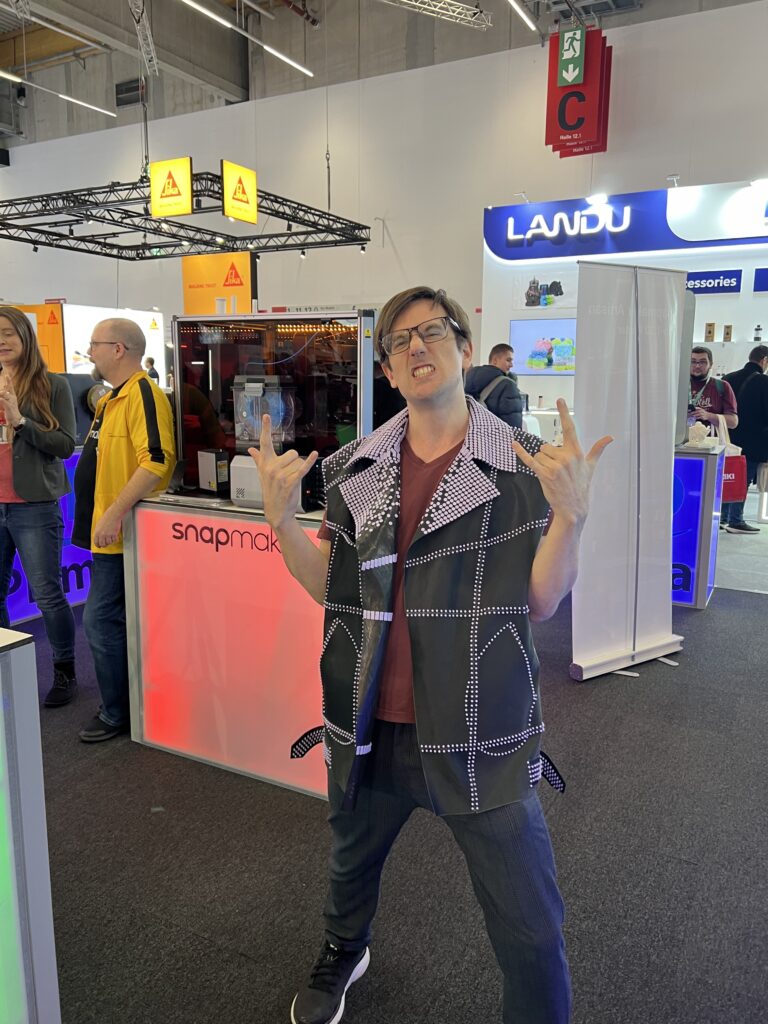
Very grateful to have been graced by Brigitte Kock (Variable Seams), who showed off a very cool 3D Printed vest, and tested out the Bruce Lee top!
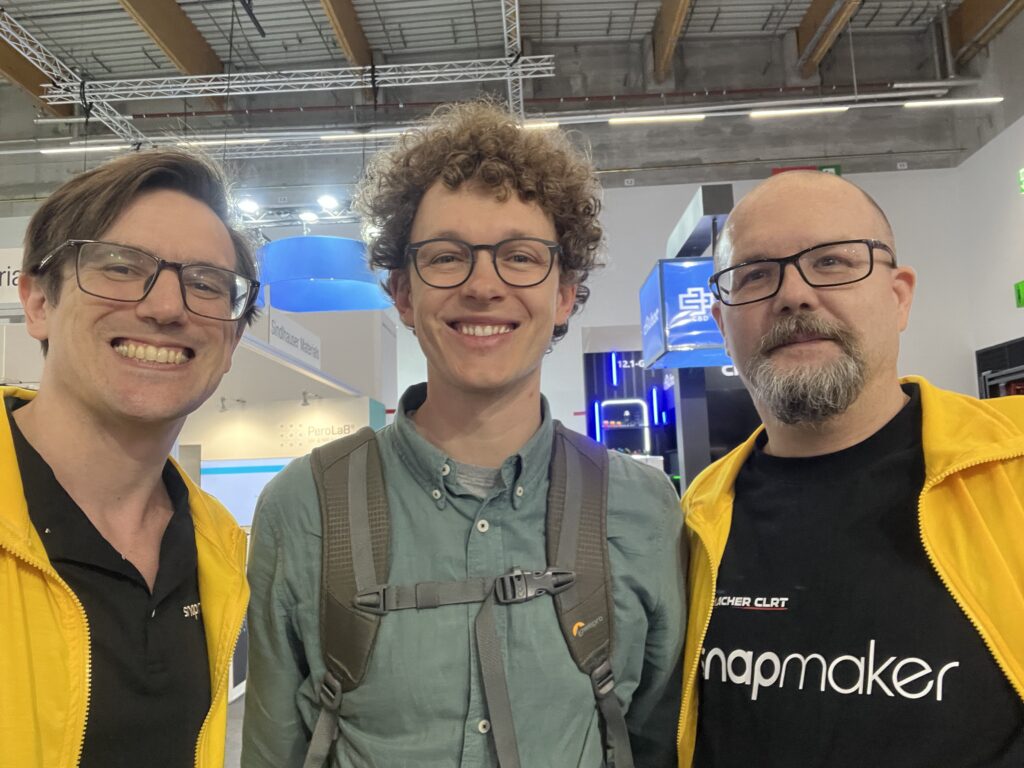
We also ran into some of our other favorite influencers, including MPoxDE, CNC Kitchen, Tech Napa, Frankly Built, and Make-o-Rama!
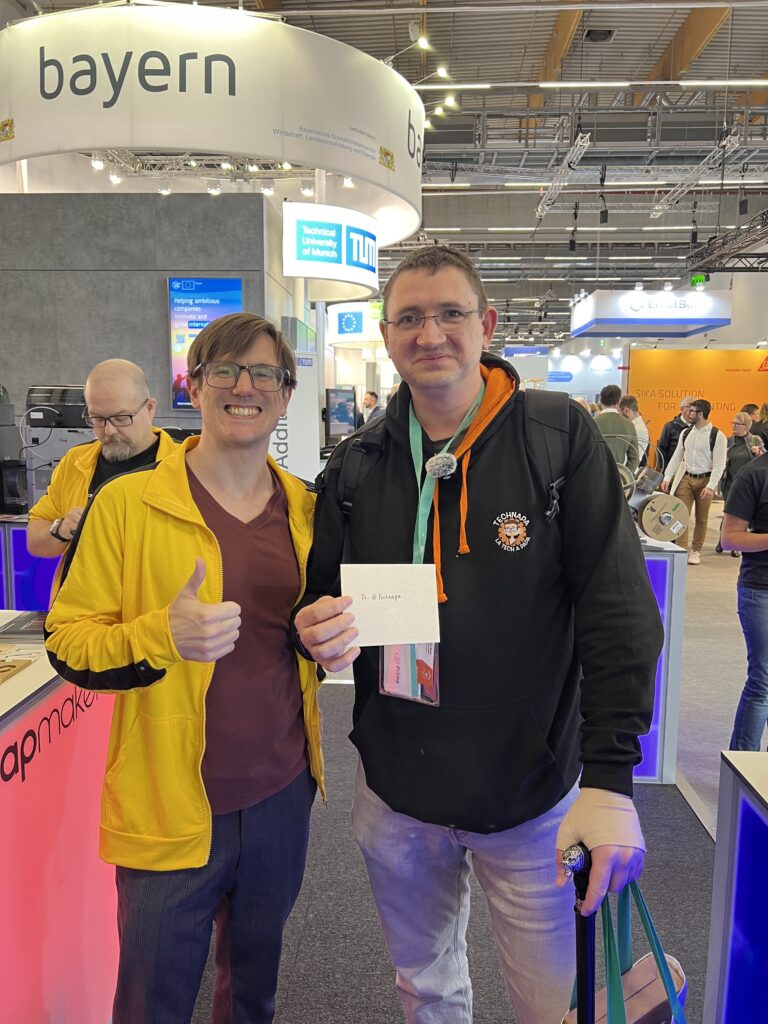
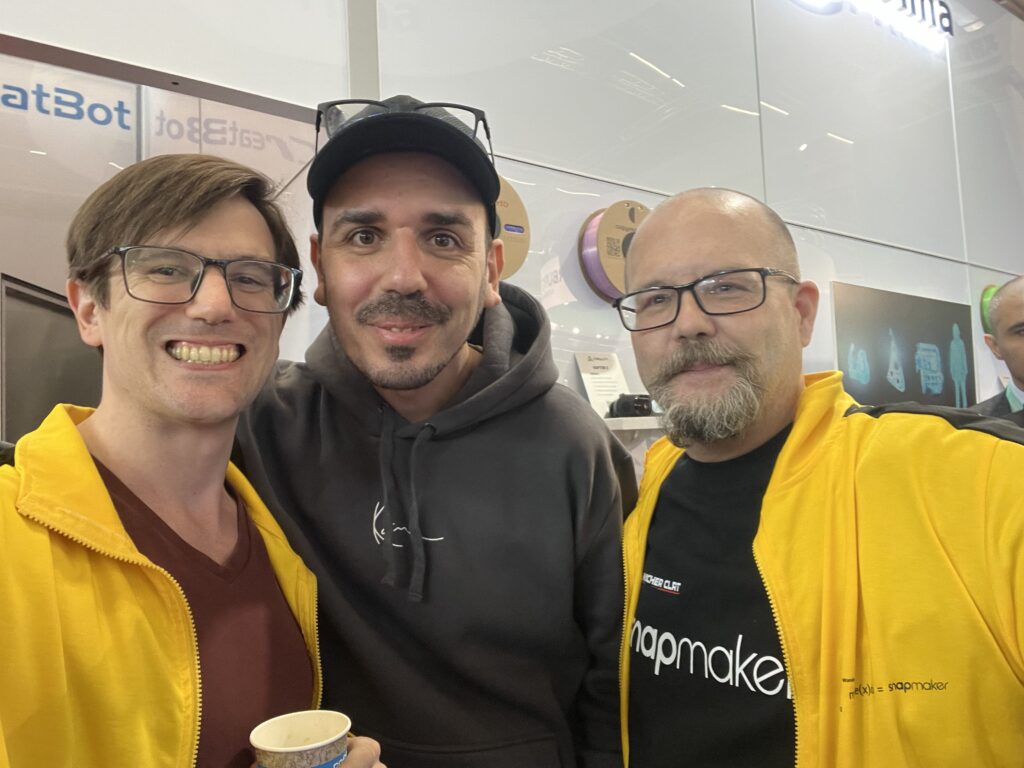
We apologize for missing the full group photo from the User Meetup (there was a lot going on!!), but our friend Gabriele from Italy won the special Schumacher CLRT shirt!
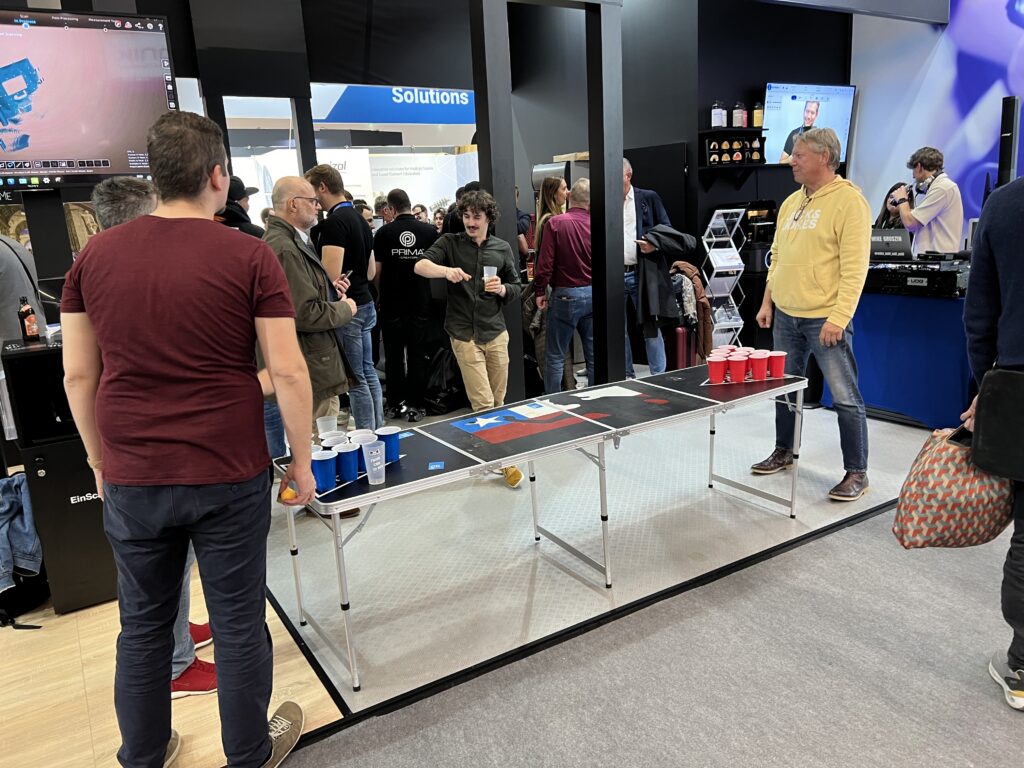
Checking out some of the other booths we ran into some Beer Pong …
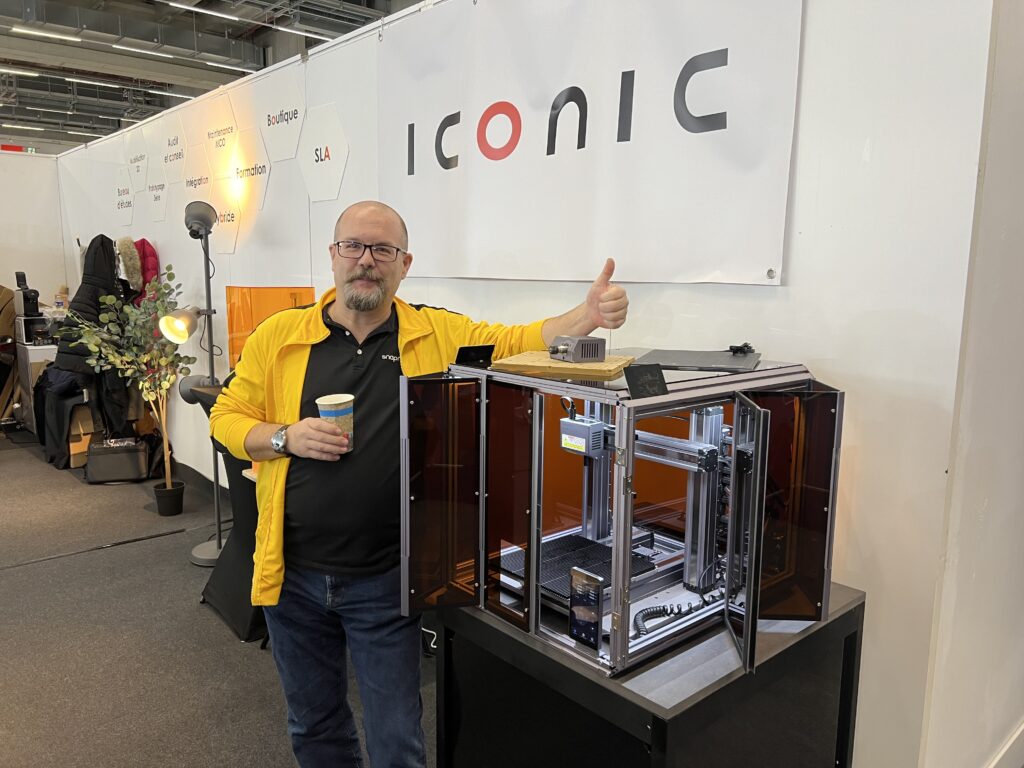
And we even found a Snapmaker 2.0 in the French Pavillion, on display with our friends ICONIC.
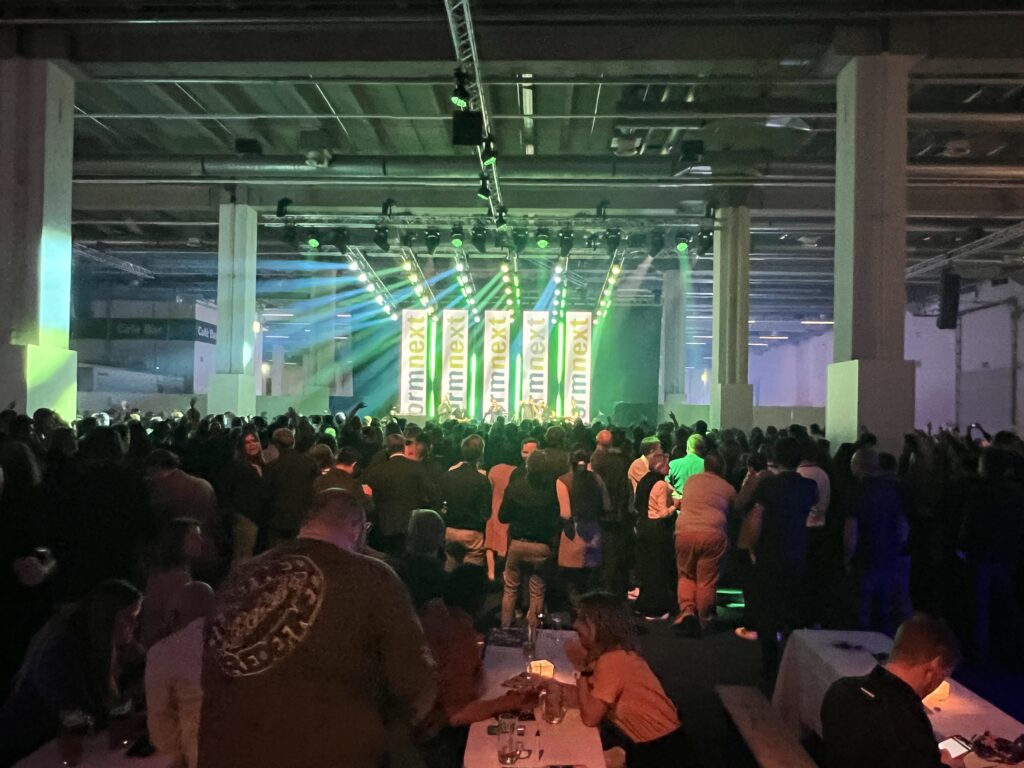
And finally the Thursday Night Exhibitor Party was a blast!
See you next year at Formnext 2025!!
Cheers,
The Banana Boys
The post Snapmaker @ Formnext 2024 appeared first on | Blog.
]]>The post Snapmaker 2023 Recap & Expectations for 2024 appeared first on | Blog.
]]>Launching new products with a focus on both hardware and software


Making appearances at exhibitions to showcase its strength

Receiving industry recognition

Fostering global partnerships for mutual success

Connecting with users to build communities together
Every community member represents the core spirit of Snapmaker creators. The community’s feedback has always been crucial, inspiring many product developments. In 2023, stronger collaboration with the community was emphasized, earning user recognition through transparent communication. Before each new product launch, selected users were involved as early adopters to help improve product experiences. Additionally, users were invited to test beta versions of firmware and software firmware, providing feedback for further optimizations.

In May, to give back to the open-source community and make J1 an even better 3D printer, Snapmaker decided to share the source code of the Snapmaker J1 3D printer controller. In November, the Starmaker program was launched to recognize and reward exemplary community members with outstanding contributions. Moreover, at Formnext 2023, Snapmaker engaged with a group of loyal users offline to discuss product experiences deeply. Future efforts will continue to focus on community engagement, listening to feedback, bringing creation to everyone, and empowering the users to create their best.

Various contests to enhance interaction
-
March: 13th Snapmaking Contest “Make a multi-color print”
-
March: Giveaway “Snapmaker Egg Hunt”
-
June: 14th Snapmaking Contest “Games that made your childhood”
-
June: Virtual Party “Growing Together. Making Forever.”
-
August: Giveaway “If I have a Snapmaker Ray”
-
October: 15th Snapmaking Contest “Halloween Creations”
-
November: Giveaway “Get Started in Snapmaker”
-
November: Giveaway “May the Snap be with you”
-
December: Video Contest “Snapmaker Winter Wonderland”

Expectations of 2024
Today is the first day of March, a new start.
Anticipating the promising year of 2024, Snapmaker is dedicated to continuous innovation. We are excited to unveil new practical products shortly, including the highly anticipated 2W infrared laser module and a flagship release scheduled for Q4, all aimed at enhancing user experiences. Our focus remains on developing cutting-edge products, expanding market presence, fostering partnerships, and elevating Chinese brands worldwide.
The post Snapmaker 2023 Recap & Expectations for 2024 appeared first on | Blog.
]]>The post Snapmaker 7th Anniversary Column | Letter from René Ruschetta appeared first on | Blog.
]]>Let me introduce René Ruschetta from Switzerland today. René has become a Snapmaker Artisan user for 6 months and he has already been surprising the community by sharing his awesome projects in the Facebook group very often.

When did you become a Snapmaker user?
I became interested in 3D printing 3 years ago. I was 66 years young and had no idea what I was in for. The adventure of 3 d printing began with a Creality CR 6 SE. With a lot of patience and perseverance, I understood more and more how the whole thing works. But I quickly wanted to print multicolor parts and bought the MOSAIC PALETTE 3 PRO. A good but very difficult adjustment thing to achieve good results. Then I bought, again from Crealiy, CR 10 Smart Pro, which is also a top printer for beginners. But I wanted more and better. I searched the Internet and came across the Snapmaker and my blood pressure rose enormously. Yes!!! This is the part I must have. But I thought I should wait a little longer because these guys are light years ahead of other manufacturers. The wait was worth it. The Snapmaker artisan was born and has been a proud owner for 6 months.
Why did you choose Snapmaker?
I chose the Artisan because you have 3 options in one device. But most often I use only the printer and laser, CNC, which I have never used until now. I will then try a CNC project on my 70th birthday, so in a year.


Paintings by René Ruschetta
What is the most memorable project you have ever done with Snapmaker 3D printer?
This guy was the most difficult. He almost drove me crazy because he wouldn’t stay on the pressure bed or the supports broke away. After what felt like three weeks, he finally stopped. He probably realized that he couldn’t think I was stupid. Haha. But I still don’t know how I made the settings.


Since becoming a Snapmaker user, what have you gained in your maker journey?
Anyone who buys the artisan and has little or no experience must be aware that it is not a toy. It will also not work with every filament. It’s just a matter of trying it out, and in my opinion, there’s no getting around it. But it is worth it and achieves perfect results.


3D Printing Projects by René Ruschetta
From your perspective, what progress has Snapmaker made over these years?
You actually make progress every day. I am a person with the slogan, can’t be done, with a lot of patience and time everything is possible. I used kilos of filament for test prints until I found the right settings. Unfortunately, the Luban slicer is not exactly the rolls royce slicer, but for certain parts quite good. But must be urgently improved since one achieves much better results with cura and prusa.
What do you want to say to Snapmaker team?
Now to the Snapmaker team:
As already mentioned, improve the Luban slicer. A spring steel plate for the heating bed would also not be bad. But this is purely a matter of opinion. On the whole, you are completely on the fast track. Keep it up. You can be proud of what you have created. Congratulations.
The post Snapmaker 7th Anniversary Column | Letter from René Ruschetta appeared first on | Blog.
]]>The post Snapmaker 7th Anniversary Column | Letter from Lightning Bug Club appeared first on | Blog.
]]>Let’s meet Lightning Bug Club today! Lightning Bug Club is an owner of Snapmaker 2.0 and Snapmaker Artisan 3-in-1 3D Printer. Lightning Bug Club also once won the third prize in the 10th Snapmaking Contest “Remain Childlike” with a Kaleidoscope project. He has an Esty store that sells 3D printed goods.

When did you become a Snapmaker User?
Kickstarter for the A350 2.0! Been exclusive and faithful to Snapmaker ever since ?
Why did you choose Snapmaker?
I wanted the 3-in-1 capability. As a mechanical engineer, I used the machine shop in college a lot and miss the freedom of making real things with multiple materials.

What is the most memorable project you have done with Snapmaker?
The clay cutter tool that I 3D printed custom for @mudwitch to use to cut some clay plates out in a special shape. It was my first time using PETG and I remember upgrading my linear modules before that. The program had a lot of squiggles in the design and it made the machine make a very enjoyable sound. I mostly remember loving hearing it print into the night – it was comforting ?
Since becoming a Snapmaker user, what have you gained in your maker journey?
I have products that I’ve designed and created with Snapmaker’s 3-in-1 capability that I intend to sell at an art market this month. It’s helped me unlock the freedom to allow myself to create and take my maker journey seriously.


Shimmering Lamp made with the 3D printing and CNC function of Snapmaker Artisan
From your perspective, what progress has Snapmaker made over these years?
The hardware build quality has steadily improved in my opinion. The artisan is the best example of that. Luban, while still not my preferred software, has also improved greatly. I am excited about the paint mesh feature!
What do you want to say to the Snapmaker team?
Hearing the desire for new features and fulfilling a lot of them has been one of my favorite parts of the team. It does seem like you listen to feedback and act on it. When necessary you justify the means for a decision and I highly respect that. Giving us transparency is so amazing ??
The post Snapmaker 7th Anniversary Column | Letter from Lightning Bug Club appeared first on | Blog.
]]>The post How can you use 3D printing in education with Snapmaker 3D printer? appeared first on | Blog.
]]>As you may have noticed, 3D printers play an important role in STEAM education. 3D printing technology is one of the emerging technologies that may change the way we design and manufacture in the future. It can also be combined with various subjects in school. That’s why 3D printers were introduced to classrooms and many curriculums were designed based on the needs of different education levels. For example, on MyMiniFactory, you can find tens of thousands of models that are categorized based on grade level and subject. Most of them can be further designed into a course that teaches students knowledge of a certain subject and skills to design.

As a 3D printer equipment and solution provider, Snapmaker provides 3-in-1 3D printers that not only develop students’ printing knowledge and skills, but also make it easy to learn the knowledge and skills of laser and CNC. The technologies of both additive manufacturing and subtractive manufacturing are all integrated into one machine, opening up more possibilities to combine different subjects in one course and thus helping teachers and parents to better achieve students’ holistic development.

Partnered with honored teachers in Nankai University, Snapmaker developed an education guidebook named Becoming a Smart Maker: Digital Technology Introduction. From a beginner’s perspective, it aims to help students to establish their understanding of three manufacturing technologies (3D printing, laser engraving and cutting, CNC carving) from the ground up. From mastering basic model design knowledge to experiencing actually making something, it can gradually inspire students’ awareness of innovation and help fulfill all-round development.
In the following weeks, we will share three courses in the education guidebook, which use the three functions of the Snapmaker 2.0 AT models respectively. Today, this blog will show you how you can use Snapmaker’s 3D printing function for educational purposes. This course’s task is to 3D print a terrestrial globe. In the making process, it’s recommended that teachers and parents explain relevant geographic knowledge to the students and show them how to design models. In this blog, we will use TinkerCAD as the design tool. You can also use more professional software if needed. If you are also planning to try STEAM education in your classes or at home, this course can be your starter.

To make the terrestrial globe, students need to understand basic information about the Earth before designing. Students can be easily involved and start thinking when teachers or parents guide them through questions:
- Question: Is the Earth a normal sphere?
- Answer: We always say that the Earth is a sphere, but the Earth is not a perfect sphere. The Earth is a spheroid slightly flattened at the poles and slightly bulging at the equator. The poles are the North and South poles, the two ends of the Earth and the two points at which the imaginary axis of the Earth intersects the Earth’s surface. The equator is the longest circumference on the Earth’s surface in the direction of the Earth’s rotation.

Other questions that you may consider asking include:
- Do humans know the Earth’s shape from the very beginning? By asking this question, you can let students know that humans’ understanding of the Earth’s shape also experienced a long and difficult process. By telling them the interesting story and history of geocentric theory and heliocentric theory, they are better able to understand and remember these concepts.
- What are the points and lines you should know about the Earth? By asking this question, you can naturally lead to the concept of the North Pole, the South Pole, longitude and latitude. To make sure they understand how these concepts work in daily life, you can even ask them the approximate longitude and latitude of your location.
- What parts do we need to design and print to make the globe? Is the Earth’s axis vertical to the surface? By asking these questions, you help them imagine how to substantialize something they cannot see or touch in person. In addition, the relationship of revolution, rotation of the Earth and the four seasons can be explained thoroughly here.
All the above knowledge may be taught in 2 or 3 different courses in usual classes. Now it’s easily connected by one project!
After the students figure out all the above questions, we can start the design. The globe can be divided into the following parts. Today we will use the sphere as an example and show you how to teach students to design.

In TinkerCAD, with its basic shapes, you can easily get a sphere by dragging the shape to the workplane. But, is it what we really need? When designing the sphere, what we need to consider includes should the sphere be stuffed or hollow; should we print it as a whole or cut it into two pieces; what the size is; whether there is a design that saves the most time and material.
Some of the questions can be answered after we get familiar with 3D printing. If the sphere is printed as a whole, support is needed when slicing the g-code because of the limited contact area between the model and the 3D printer’s build plate and also the deep bridging. Otherwise, you will spend lots of time dealing with print failures and postprocessing the surface. Therefore, printing two half spheres and then gluing them together is a better choice.

Also, to save material and for easy assembly, the sphere is better designed as hollow. The thickness, however, may be best decided by trial and error as it is related to the size of the model. In our course, we use 50 mm as the outer diameter and 5 mm as the thickness. In this case, in TinkerCAD, all we need to do is set the two half spheres to the right size, align them, group them, and copy them. Quick and easy!

When the design is finished, the next step is to learn how a 3D printer works and how to transform design files into G-code files. We have put this in detail in our Quick Start Guides and User Manuals. Remember to check them out when you receive your Snapmaker! After this project, we are sure that students will have a strong sense of achievement. They will also have a new understanding and develop a deeper interest in related subjects.

This is how a project can help students learn knowledge of relevant subjects and design skills. A terrestrial globe may be common in almost every household, but a DIY one made by children is meaningful and unique. Whether STEAM education is beneficial to the country is debatable, but it will be beneficial to those who take advantage of it. So, don’t hesitate to take advantage of this blog and start a project with your students or children!
In the next blog, we will share the course using laser engraving. If you want to learn more about our case studies in the education field or you have an idea of 3D printing education to share, feel free to comment below.
A Snapmaker 3-in-1 3D printer is essential to turn the project into reality. Products you may be interested in: Snapmaker 2.0 AT Models, Snapmaker Artisan. US users can also have a look at our new Education Program.
The post How can you use 3D printing in education with Snapmaker 3D printer? appeared first on | Blog.
]]>The post Snapmaker Artisan and J1 Make an Impressive Pivot at CES 2023 appeared first on | Blog.
]]>Hi Makers,
We recently attended CES 2023, the world’s most influential technology event, from Jan. 5 to 8 in Las Vegas, NV. More than that, Snapmaker has been named a CES 2023 Innovation Awards Honoree for Snapmaker Artisan!
The CES Innovation Awards program, owned and produced by the Consumer Technology Association (CTA)®, is an annual competition honoring outstanding design and engineering in 28 consumer technology product categories. This year, among over 2100 submissions, Snapmaker Artisan stands out in differentiation with the idea of upgraded modular design, and its high quality and performance. Snapmaker Artisan is the latest generation of Snapmaker’s 3-in-1 3D printer, which is equipped with 300°C dual extrusion 3D printing module, 10W high power laser module, 200W CNC cutting module, 400 x 400 x 400 giant work area and an innovative quick-swap design. The upgraded functions allow Artisan to push the limits of what a modular fabrication tool can do.

Additionally, we brought J1 to the show as well. The Snapmaker J1 High Speed IDEX 3D Printer boasts two extruders with an ultra-fast printing speed of up to 350 mm/s. Due to its elaborate hardware design and outstanding printing performance, it successfully attracted the attention of thousands of on-site visitors.
New products aside, it’s notable that well-loved 3D printing content creator Joel Telling (3D Printing Nerd) joined the show and came to the Snapmaker booth to share and discuss his thoughts on Artisan and J1.

“We’re proud to be honored once again with the CES Innovation Award”, said Joshua Little, Key Account Manager at Snapmaker. “Snapmaker is always committed to creating premium-quality and user-friendly desktop fabrication machines. Both Artisan and J1 are products integrating high-class hardware, user-friendly workflow, and high-standard print quality requirements to ensure user experience. It is a pleasure to communicate in person with our users, partners, and Snapmaker enthusiasts and receive positive feedback from them! Hope to see you all next year!”
The post Snapmaker Artisan and J1 Make an Impressive Pivot at CES 2023 appeared first on | Blog.
]]>The post Snapmaker Brought New Products Artisan and J1 to TCT Asia appeared first on | Blog.
]]>More than 3D Printing: Snapmaker 2.0 3-in-1 3D Printer

Thanks to the modular concept, Snapmaker 2.0 integrates three powerful functions of 3D printing, laser engraving and cutting, and CNC carving, truly demonstrating the unique charm of three in one. Users can use three different functions on the same machine with almost the same operation logic. In addition, it can also be used with the Enclosure, Air Purifier, 10W High Power Laser Module, Rotary Module, Emergency Stop Button, and Can Hub to expand the application scenarios and greatly enhance the fun and imagination of creation!

The 2.0 Rotary Module featured in this exhibition is an add-on of the Snapmaker 2.0 modular ecosystem. This module adds another axis to Snapmaker 2.0, allowing users to unlock new possibilities in 4-axis CNC and laser engraving!


New Members of the Desktop Digital Fabrication Product Mix: Artisan & J1
The exhibition is also the global debut of two new products – the Snapmaker Artisan 3-in-1 3D Printer and the Snapmaker J1 High Speed IDEX 3D Printer. Some users of Snapmaker also came to the scene to experience new features of the two new products.

Snapmaker Artisan is the latest generation of 3-in-1 3D printers. It’s larger, stronger and easier to use. The 300°C Dual Extrusion 3D Printing Module supports printing of more advanced materials, such as soluble/easy-to-remove support printing, TPU, nylon, etc. The 10W High Power Laser Module and 200W CNC Module will bring users a more efficient desktop-level making experience.

In addition to Artisan, Snapmaker’s first High Speed IDEX 3D printer J1 also came to the scene and demonstrated 350 mm/s IDEX 3D printing, achieving printing 2 3DBenchy boats in 22 minutes with different colors.

There are also use cases printed with different materials next to J1. The visitors can experience the characteristics of different materials by touching the use cases themselves, and fully understand the possibility of multi-material printing. Many visitors were amazed by use cases that are printed in two colors, for example, the cartoon car and Chinese chess.

The two new products will be exhibited in Formnext next week as well. Join us if you are around from Nov 15 to 18. Join our Facebook group if you want a free ticket (number limited). See you next week!
The post Snapmaker Brought New Products Artisan and J1 to TCT Asia appeared first on | Blog.
]]>